Place cling film over each bottle to create a semi-sealed environment. This covering will help maintain humidity levels within the bottle and encourage the growth of the mycelium, the root network of mushrooms.
Step 6: Initial watering
Use a high-pressure watering can to moisten the straw and the mushroom embryo. This initial watering ensures that the growing medium is sufficiently hydrated.
Step 7: Observing growth
Over the next 12 days, keep an eye on your bottles. You should start to see some changes as the mycelium network expands inside the straw. Once you see signs of growth, it’s time to carefully remove the cling film.
Step 8: Second watering cycle
After removing the cling film, continue to water the mushroom bottles regularly. This time, water directly into the bottle through the top opening, making sure the growing medium stays moist.
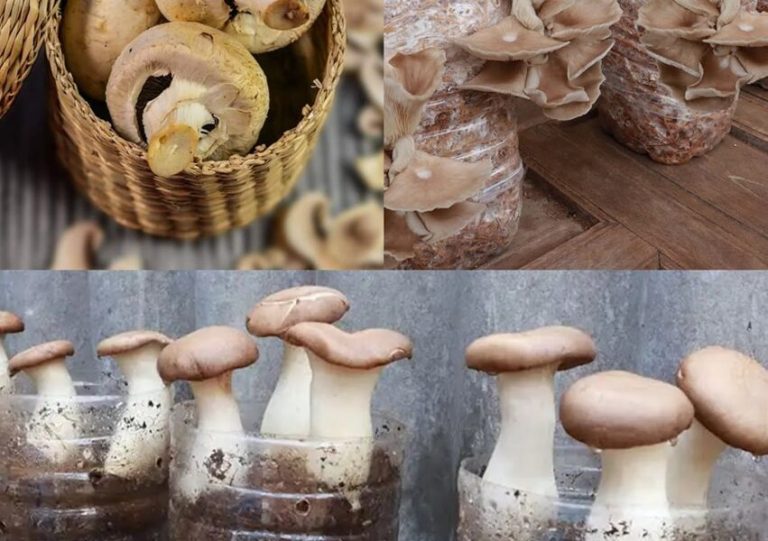
Step 9: Adding Soil and Substrate
About 12-15 days after removing the cling film, introduce a layer of potting soil and substrate onto the top of each bottle. This mixture provides essential nutrients for mushrooms as they enter the fruiting stage.
Step 10: Continue watering and growing
Continue watering the bottles as the mushrooms grow. Within 45 days you should have fully grown mushrooms ready for harvesting. Remember to maintain consistent humidity and humidity levels throughout the process for best results.