ADVERTISEMENT
Cover the Jar:
Cover the jar with a cheesecloth or a clean kitchen towel. Secure it with a rubber band or string. This allows air to flow in while keeping out dust and insects.
Ferment the Apples:
Place the jar in a dark, warm place. Allow it to sit for about 3-4 weeks. Stir the mixture every few days to ensure the apples stay submerged and to promote even fermentation.
Strain the Liquid:
After 3-4 weeks, the mixture should start to smell like vinegar. Strain out the apple pieces using a fine-mesh strainer or cheesecloth, transferring the liquid to a clean jar.
Second Fermentation:
Cover the jar with a cheesecloth or towel again and let the liquid sit for another 3-4 weeks. This second fermentation process will develop the vinegar’s flavor and acidity.
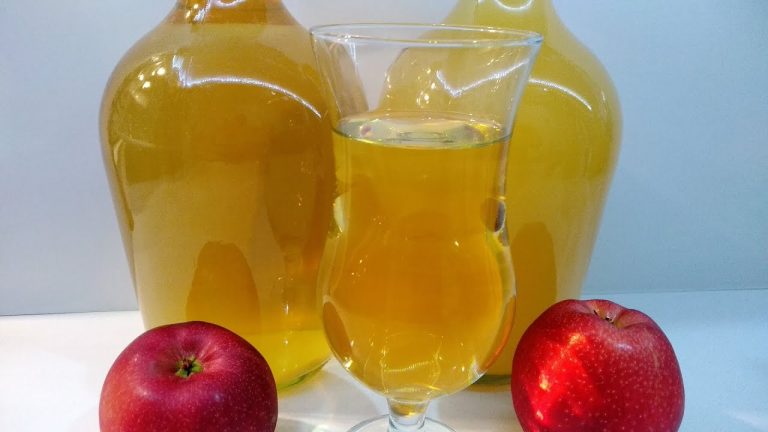
Store the Vinegar:
Once the vinegar has reached your desired taste and acidity, transfer it to a clean glass bottle with a tight-fitting lid. Store the apple cider vinegar in a cool, dark place. It can last for several months or even years.
Tips for Best Results
Use Organic Apples: Organic apples are free of pesticides and chemicals, making them ideal for fermentation.
Check for Mold: If you notice any mold forming on the apples during fermentation, discard the batch and start over to ensure safety.
Taste Test: Periodically taste your vinegar during the second fermentation to see if it has reached your preferred level of acidity.
Enjoy Your Homemade Apple Cider Vinegar
Congratulations! You’ve made your own apple cider vinegar. Use it in salad dressings, marinades, or as a natural remedy. Homemade ACV is not only economical but also free from additives and preservatives.
Enjoy the health benefits and the satisfaction of creating this versatile ingredient from scratch!
ADVERTISEMENT
