ADVERTISEMENT
This propagation method is a great way to fill out a smaller plant, making it bushier over time. Naturally, once you do this a few times, you’ll run out of room.
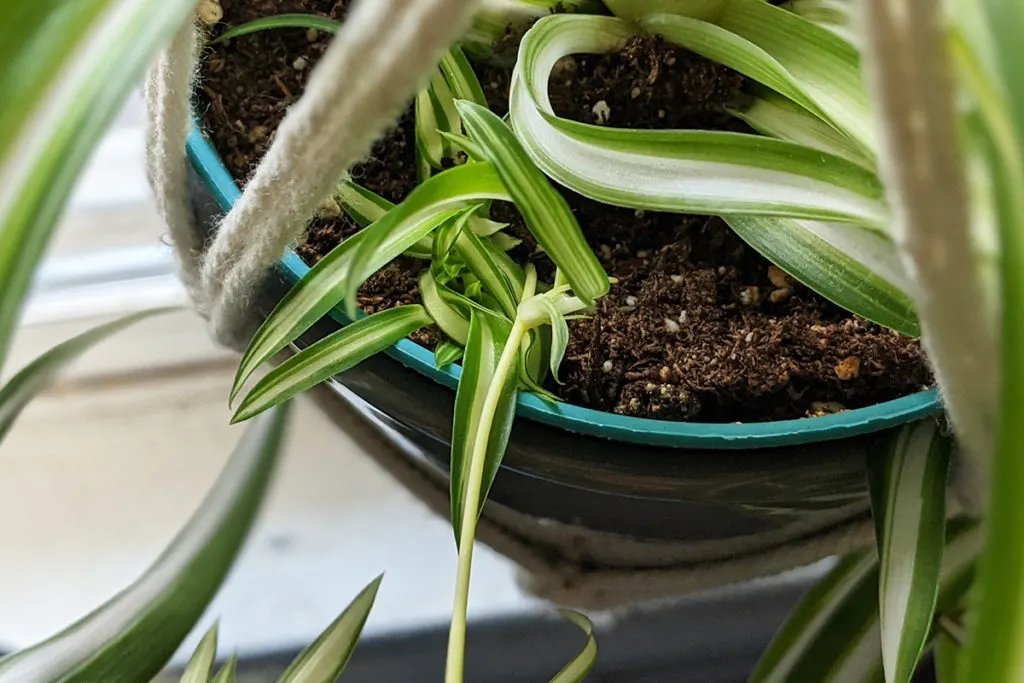
Once you’ve filled your pot with new spider plants, you can do the same thing, only using a separate smaller pot of soil for each spiderette. This method requires a bit more room as you’ll need to have a place for the main plant and the smaller pots that will hold the growing spiderettes.
After a few weeks, gently wiggle the spiderette you planted. If it pulls out of the soil easily, push it back in and wait a bit longer. If you feel resistance when you wiggle it, roots have developed, and you can now snip the new plant away from the stolon. Use clean, sterilized scissors and cut the stolon as close to the base of the new plant as possible.
This propagation method allows the baby spider plants to receive nutrients from the main plant while establishing its root system. You’ll still need to water the new plant, though.
Water
Ah, water propagation. We all know that soil propagation is quicker, but there’s something immensely satisfying about watching roots develop in water. And so, for many of us, water propagation is our preferred method.
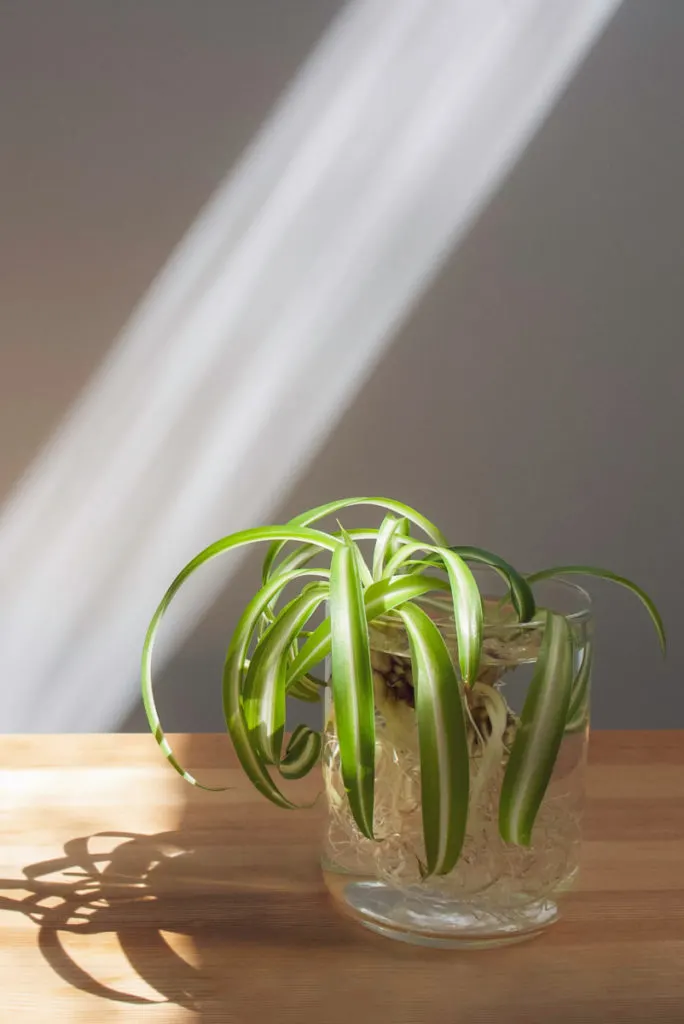 To propagate in water, you want to place the spiderette in a clear glass container that will allow only the bottom-most portion to sit in the water. You don’t want the leaves sitting in the water, or they will rot.
Place the container in a sunny location and patiently wait for the magic to happen.
You’ll need to add water periodically to make sure the bottom of the spiderette remains submerged. Replace all of the water and rinse out the container every couple of weeks or if you see any green scuzz developing.
Once the new plant has developed roots at least 2-3” long, it’s ready to be planted in soil.
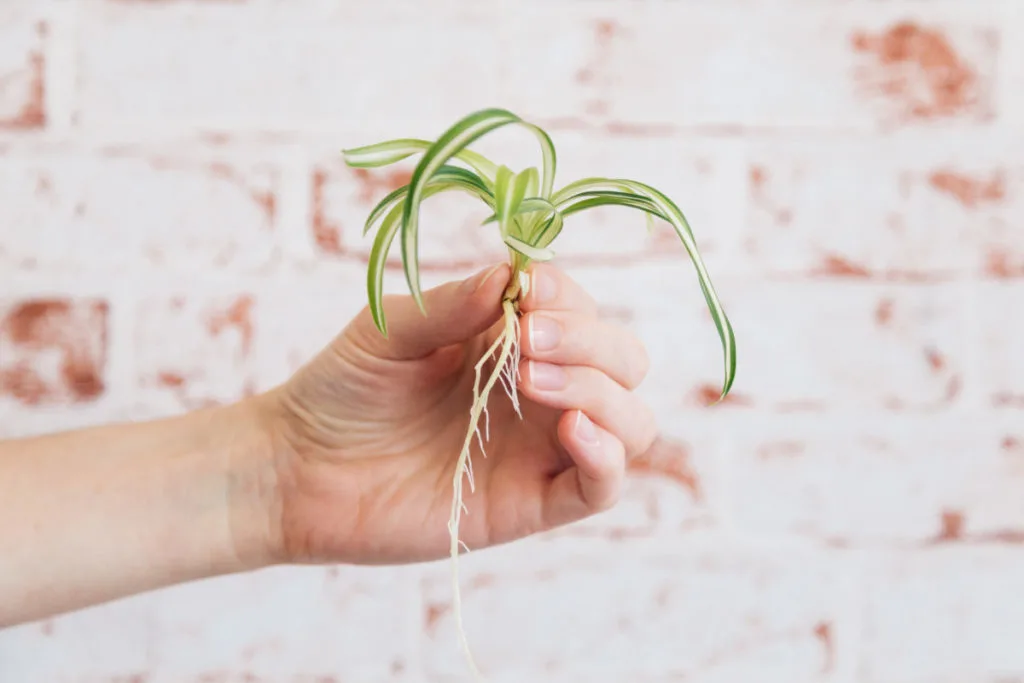 I like to use a seed-starting mix or another light soilless potting mix for new plants. Premoisten your potting mix, then use a pencil or chopstick to create a hole. Gentle wiggle the roots of your new plant down into the potting mix. Don’t submerge the plant deeper than the base of the spider plant. Gently press the potting mix around the plant and water it in.
Keep your newly potted plant where it will receive bright indirect sunlight until you know it’s settled into its new pot nicely.
Soil
Again, using a seed-starting mix, premoisten the mix in your pot of choice and use a pencil or chopstick to make a small indentation in the soil. Gently poke the spiderette into a pot of soil with the node end down. You want to cover just enough of the bottom of the baby spider plant so it remains upright without covering the leaves.
 Water and place the pot in a well-lit location. After several weeks the plant will establish roots. Gently grasp the spiderette and gently pull on it; if you meet resistance, you’ve got roots! Your new spider plant is ready for gift-giving or a more permanent location.
If the spiderette pops right out of the soil with no roots, just pop it back in and wait a while longer.
Propagating Without Spiderettes
Propagation By Dividing
While many plant enthusiasts prefer propagating spider plants with super cute spiderettes, you can propagate these plants without them. Although this method is a tad messier and requires a larger, more mature plant, spider plants can be divided and put into new pots.
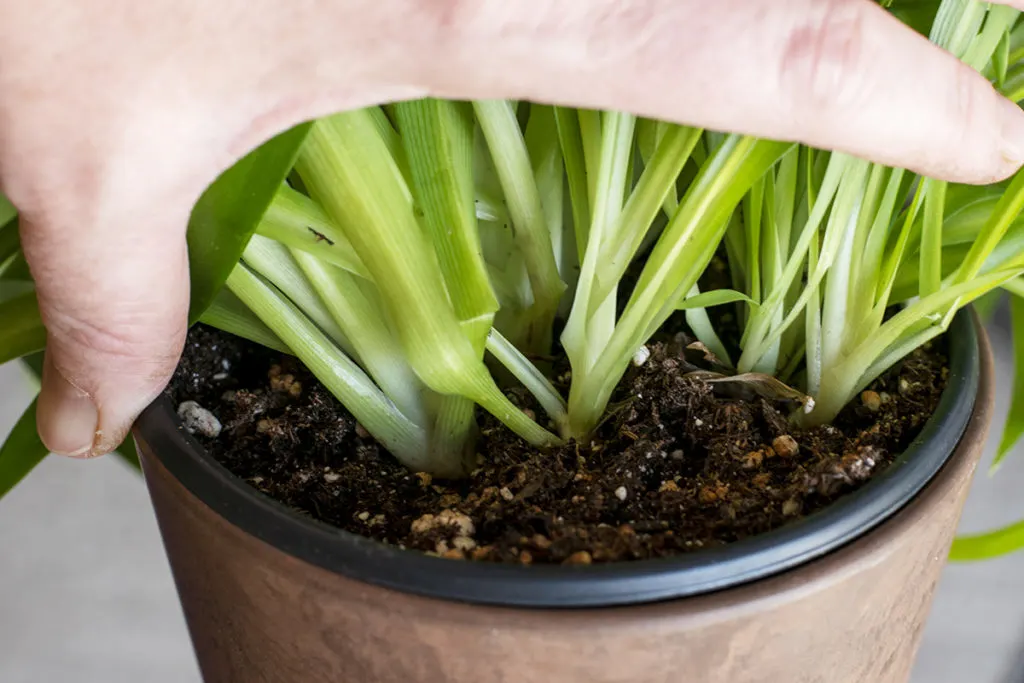
The plants grow in clusters in the soil. To propagate by division, you’ll need to remove the plant from its pot and gently brush away the soil to reveal the root system. In doing so, you’ll be able to see the natural clumps of roots at the base of the plant.
Once you’ve decided where you want to separate your plant, use a clean and sterile knife or scissors and cut these clusters apart.
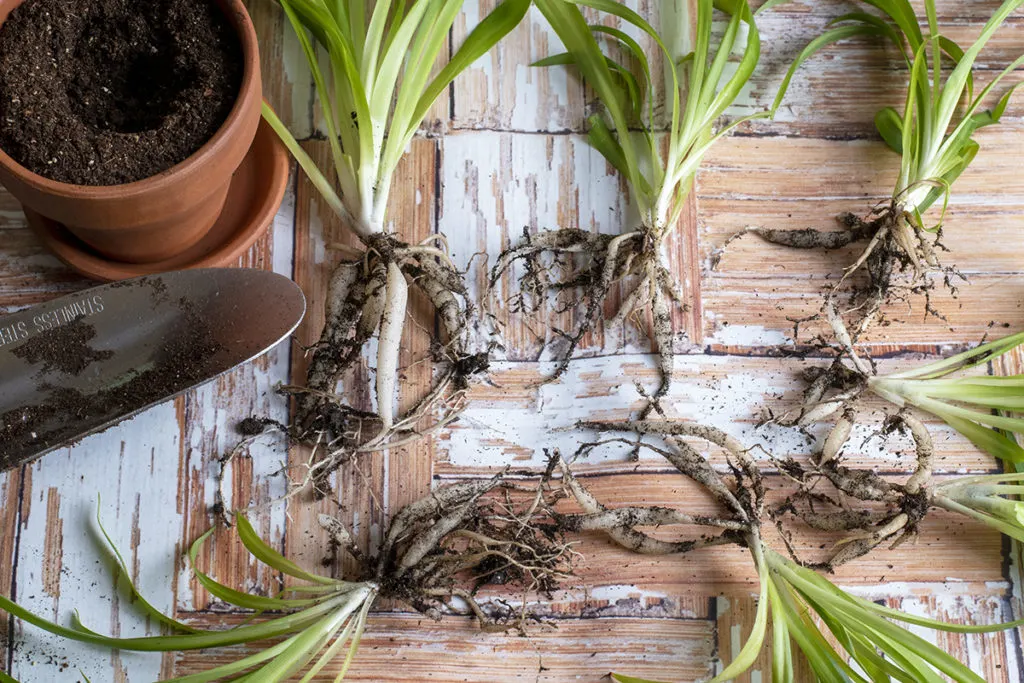
Once you’ve made all the divisions you want, it’s important to let the new clusters and the main plant scab over. If you plant these pieces immediately in soil, you’re inviting rot. There’s nothing sadder than seeing a newly potted division turn yellow and die after all of your efforts.
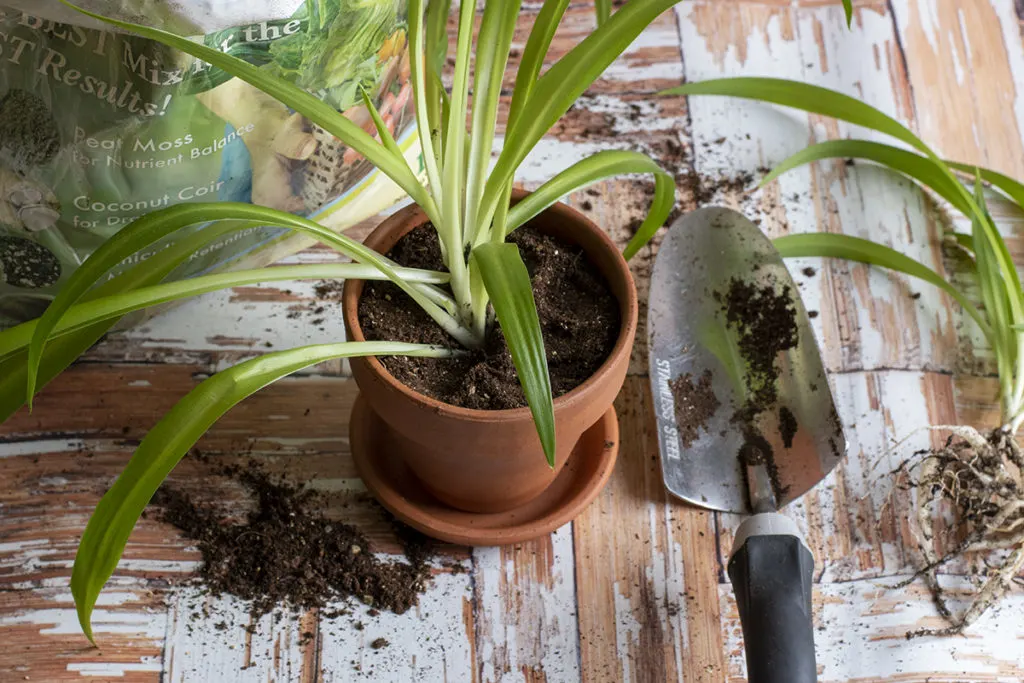 Let the cut pieces sit for a day or two and then repot each piece. Water them in and place the new plants where they will receive bright indirect sunlight. After a few weeks, your divided spider plants should be thriving, and before you know it, they will be making spiderettes of their own.
Continued on next page
ADVERTISEMENT
