Step 2: Cutting the Bottle
Using a box cutter or sharp knife, carefully cut the plastic bottle in half horizontally, creating two separate pieces: a top portion and a bottom portion.
The top portion will serve as the lid of the incubator, while the bottom portion will house your eggs or plants.
Step 3: Creating Ventilation
To ensure proper airflow within the incubator, make small ventilation holes along the sides of the bottom portion of the bottle.
These holes will prevent moisture buildup and promote healthy growth. Be mindful not to make the holes too large, as this may compromise the stability of the incubator.

Step 4: Optional Modifications
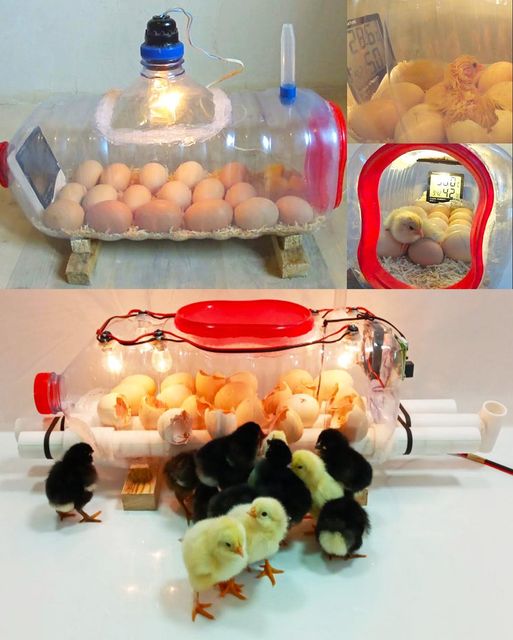
Depending on your specific needs, you may choose to customize your incubator further. For example, if hatching eggs, you can place a small dish of water inside the bottom portion to maintain humidity levels.
Additionally, you may opt to tape or seal any gaps between the top and bottom portions of the bottle to maximize heat retention.
Step 5: Assembly
Carefully place your eggs or plants inside the bottom portion of the bottle, ensuring they are secure and well-positioned. Place the top portion of the bottle over the bottom portion, creating a snug fit.
If necessary, use tape or additional materials to secure the two pieces together.
Continued on next page