ADVERTISEMENT
Clean surface – Source: spm
- Clean the surface
Before attempting to install a suction cup, make sure the surface you are attaching it to is completely clean. Rub the entire selected surface with your usual household cleaner, then rinse and dry thoroughly with a lint-free cloth. This cleaning will remove any dirt and debris that could interfere with proper grip.
Clean the surface – Source: spm
- Clean the surface with alcohol!
Once the surface has been thoroughly cleaned and sanitized, you will need to clean it again by cleaning the alcohol. Why this double cleaning? Because if this alcohol is not in itself an excellent cleaning agent, the ideal is to remove the last traces of dirt before the suction cup can be optimally repaired.
Note: Alcohol cleaning is also the best way to prepare a surface before hanging hooks or the like. First clean the surface as usual and then rub with «clean alcohol» before applying the surface to create a permanent bond.
Clean Suction Cup – Source: spm
- Clean the suction cup itself
In addition to cleaning the surface you plan to attach it to, the suction cup should be clean and dust-free. Rinse with warm eau, paying attention to the inside of the suction cup, then shake to remove excess eau. (Don’t dry it too much – DROPS of’eau in the suction cup can prevent air pockets from forming in the joint. ) - Suction cup – Source: spm
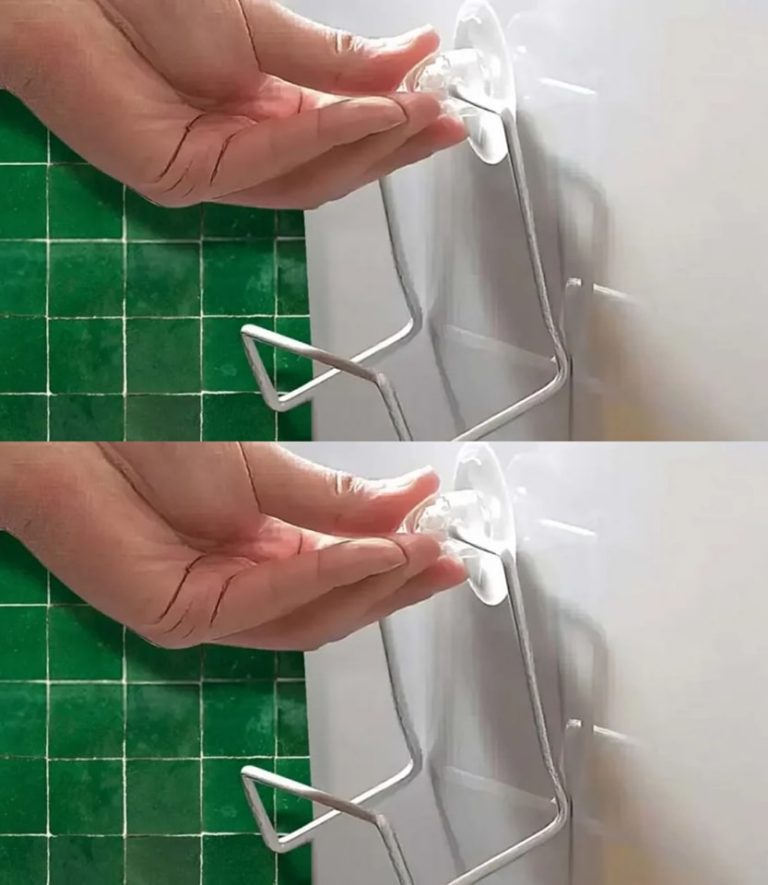
-
- Press firmly
It’s finally time to put on the suction cup! Push it firmly against the glass, wall or tile where you want to attach it and stick it well. Make sure you don’t have any air bubbles between the suction cup and the surface.
- Press firmly
Wandsaugbecher – Quelle: spm
- Leave it alone
After installation, allow the suction cup to sit for 24 hours to allow the bond time to “grind”. This means not weighing the suction cup or the object it is attached to and doing your best to avoid wetting the area.
Make sure the small amount of eau in the suction cup is dried and the adhesive system is fully completed by letting it run for a full day.
Check the suction cup – Source: spm
- Check the binding
Check the attachment from time to time once the suction cup is stuck. Press the suction cup occasionally to remove any air bags that have formed.
DO NOT forget that fluctuations in temperature and humidity (common can affect the flexibility of the suction cup in bathrooms and kitchens). This may cause air pockets to form or the suction cup to detach from the surface.
From now on you don’t need to buy new suction cups, but the suction cups you already have are sufficient. All you have to do is carefully follow the steps you just presented!
-
ADVERTISEMENT
