ADVERTISEMENT
1. Boil the Eggs: Start by hard boiling the eggs. Place eggs in a large pot and cover them with water. Bring to a boil and let simmer for about 9-12 minutes. Remove from heat and place eggs in cold water to stop the cooking process.
2. Peel the Eggs: Once cool, peel the eggs carefully, making sure not to damage the whites. Smooth, undamaged eggs are less likely to spoil.
3. Sterilize the Jars: While the eggs are cooling, sterilize your canning jars and lids by boiling them in water for at least 10 minutes. This will help prevent contamination and spoilage.
4. Prepare the Brine (Optional): For pickled eggs, prepare a brine of vinegar, water, and salt. You can add herbs and spices like dill, garlic, or chili flakes for flavor.
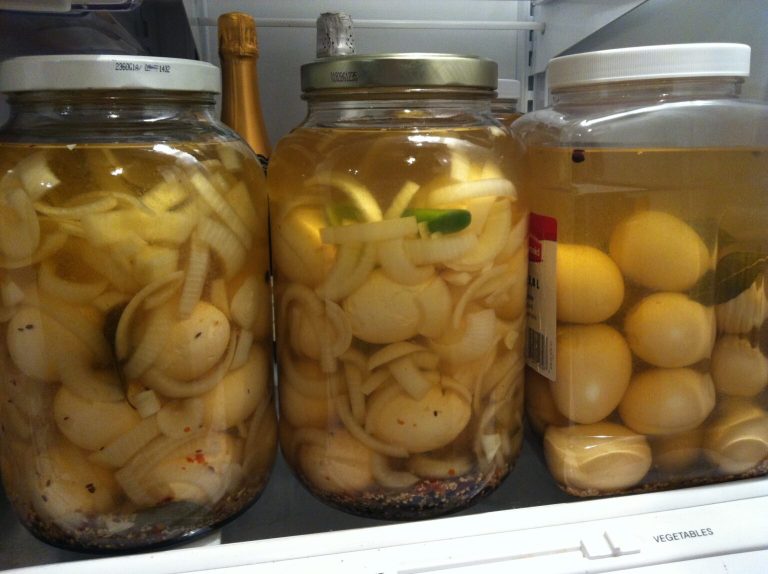
5. Pack the Jars: Place the peeled eggs into the sterilized jars. If you’re pickling the eggs, pour the hot brine over them, ensuring the eggs are completely covered. Leave about a half-inch of headspace at the top of the jar.
6. Seal and Store: Wipe the rim of the jars with a clean cloth to ensure a good seal, then place the lids on and tighten the rings. Store the jars in a cool, dark place. If properly sealed and stored, canned eggs can last for up to two years.
Conclusion
Canning eggs is a practical skill that not only extends the shelf life of eggs but also ensures you have essential nutrients available in times of need. Whether you’re preparing for unforeseen circumstances or simply want to ensure a long-term egg supply, this method is both efficient and economical. Remember, while canned eggs are versatile, they should always be consumed with caution and monitored for any signs of spoilage before use.
ADVERTISEMENT
