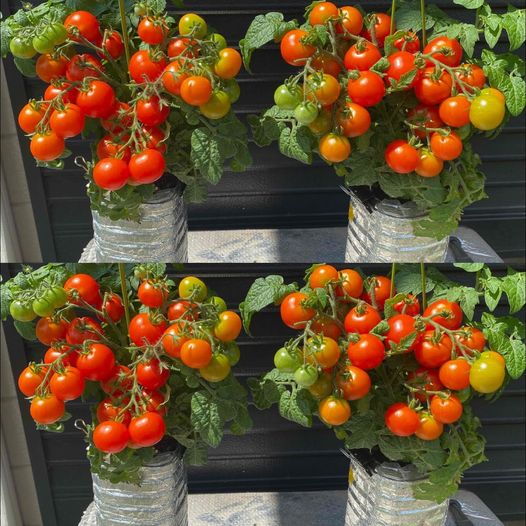
Step 1: Prepare the Bottles
Cut the Bottle: Use a sharp knife or scissors to cut the bottom off one or more 2-liter plastic bottles. If you prefer, you can also cut large holes in the side of the bottle, which allows the plant to grow out sideways.
Make Drainage Holes: Use a drill or a heated nail to create several small drainage holes in the cap of the bottle, which will now serve as the bottom when you flip it.
Step 2: Add Soil and Plant
Add Soil: Fill the bottle with a high-quality potting mix. Leave about an inch of space at the top (now the bottom) of the bottle for easier watering.
Plant the Tomato: If using seedlings, gently insert the root ball into the bottle neck first, ensuring the leaves are outside. If using seeds, plant them according to packet instructions, usually ¼ inch deep.
Step 3: Hang or Mount the Bottle
Hanging Setup: Punch two holes near the cut edge of the bottle and thread a string or wire through for hanging. Ensure it’s secure, as the bottle will get heavy with soil and water.
Mounting: You can also mount the bottles on a wall or railing using appropriate fixtures. Ensure they get enough sunlight and are stable.
Step 4: Watering and Care
Watering: Water the plant through the top of the bottle, which was originally the bottom. Be careful not to overwater; ensure the soil is moist but not soggy.
Sunlight: Cherry tomatoes require at least 6-8 hours of direct sunlight daily. Place or hang the bottles in a spot that receives ample sunlight.
Fertilizing: Feed the cherry tomatoes with a water-soluble tomato fertilizer every two weeks to promote healthy growth and fruiting.
Continued on next page
