For years, I struggled to get a good garlic harvest. The cloves I planted would sometimes sprout, but they rarely grew into the large, flavorful bulbs I hoped for. That was until my aunt, who’s been gardening for decades, shared a simple trick for planting garlic in the fall. Now, my garlic harvests are plentiful, and the cloves are rich in flavor. If you want to boost your garlic growing success, let me share this fall planting method that changed everything for me.
Why Plant Garlic in the Fall?
Garlic is best planted in the fall because it requires a cold period, or vernalization, to trigger proper bulb development. In many climates, planting garlic in late autumn allows it to establish roots before the ground freezes and then go dormant through the winter. When spring arrives, the garlic sprouts and grows vigorously. Planting garlic in the fall gives it a head start, resulting in larger bulbs by summer.
Advertisement
Key Benefits of Fall Garlic Planting:
Stronger Root Development: Garlic planted in the fall has time to develop strong roots before winter, which supports better growth come spring.
Natural Vernalization: Garlic needs cold exposure to form large, healthy bulbs, and fall planting ensures that.
Earlier Harvest: Because fall-planted garlic gets a jump on the growing season, you can harvest it sooner than garlic planted in spring.
Now that you understand why fall planting is important, let’s dive into my aunt’s trick that took my garlic gardening to the next level.
The Trick: Soak the Cloves Before Planting
Here’s the key: before planting, my aunt always soaks the garlic cloves in a solution to give them a better chance of rooting and growing well through the winter. This step encourages quicker root development and protects the garlic from common diseases and pests.
What You’ll Need:
Garlic cloves (preferably hardneck varieties for cold climates, softneck for milder regions)
Water
Baking soda
Liquid seaweed (optional but highly recommended for stronger growth)
The Soaking Process:
Prepare the Solution: In a large bowl, dissolve 1 tablespoon of baking soda into 1 quart (1 liter) of water. If you have liquid seaweed or another organic root stimulator, add a splash of that too. Baking soda helps to disinfect the cloves, reducing the risk of fungal infections, while the seaweed promotes healthy root growth.
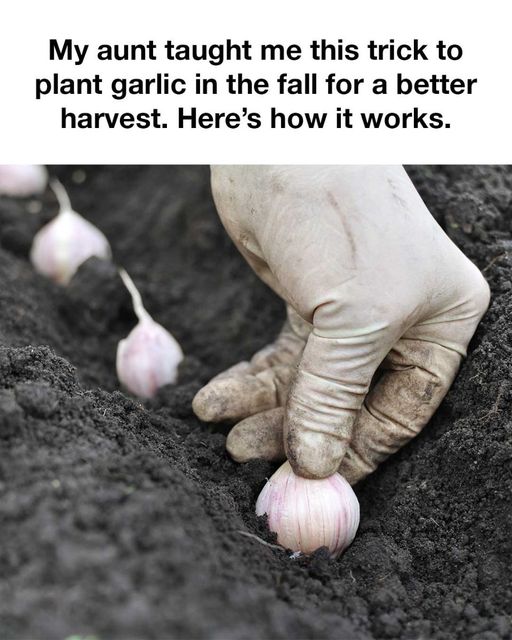
Peel and Separate the Cloves: Break apart the garlic bulb into individual cloves, but don’t remove the papery skin. Choose the largest cloves for planting, as these will produce the biggest bulbs. Discard any that look damaged or diseased.
Soak the Cloves: Place the separated garlic cloves into the solution and let them soak for 12–24 hours. This step hydrates the cloves, and the baking soda and seaweed help boost their immune system against fungal issues in the soil.
Dry Before Planting: After the soaking period, drain the water and let the garlic cloves air-dry on a towel for an hour or so. Once dried, they’re ready for planting.
Planting Your Garlic in the Fall: Step-by-Step
Once you’ve prepared your garlic cloves, it’s time to plant. Here’s the process to follow for the best results:
1. Choose the Right Time to Plant
The ideal time to plant garlic is about 4–6 weeks before your ground freezes, typically between late September and early November, depending on your climate. This timing allows the garlic to establish roots but not sprout before winter.
continued on next page
Guess I’ve been doing this at the wrong time of the year!