ADVERTISEMENT
When cutting in against a ceiling, molding or other surface where a straight line is required, start by sweeping into the line to unload some paint onto the wall. Don’t worry about getting close on the first pass. Without reloading your brush, make a second pass to coax the paint closer to the line. Fan the bristles so you’re using the tip of the taper to spread the paint in a straight line. You may even have to make a third pass to get a perfectly straight cut-in line.
Mix in Conditioner for Easier Brushing
Paint pros we talked to recommended adding conditioner to the water-based paint you’ll use to cut in. Ask at the paint store for paint conditioner or paint extender. Either one will work. Our paint consultant just dumps a little bit into the paint pail each time he refills and then mixes it up. But if you want to measure, we recommend about one tablespoon per cup of paint. The conditioner helps the paint flow easier, which in turn makes it easier to apply the paint in a nice crisp line.
Wipe Off Mistakes
Even pros occasionally get paint where they don’t want it. One method of cleaning up goofs is to wrap a damp rag around a putty knife. Make sure the cloth is only one layer thick for the most accurate cleanup. Then carefully slide the putty knife along your goof to wipe it off. You have to do this right away, though. Once the paint starts to dry, you’ll have to use more aggressive measures.
Feather the Edge
When you’re happy with the cut-in line, finish up by feathering or thinning the edge. Without reloading the brush, drag the tips of the bristles lightly over the outside edge to spread the paint in a thin layer and get rid of any ridges or paint buildup. This painting hack helps ensure that your cut-in paint won’t show as a stripe after you roll paint onto the walls.
Groove Textured Ceilings
It’s almost impossible to paint right next to rough-textured ceilings (a process called ‘cutting in’) without getting paint on the ceiling. Taping off the ceiling doesn’t work either. The solution? Knock off the texture at the edge with a putty knife. Hold the knife at a 45-degree angle to the wall and run the blade along the edge of the ceiling. The blade scrapes away the texture and leaves a small groove in the ceiling. Clean out the groove with a duster or a dry paintbrush.
Now when you cut in along the top of the wall, the paintbrush bristles will slide into the groove, giving you a crisp paint line without getting paint on the ceiling. And you’ll never notice the thin line of missing texture.
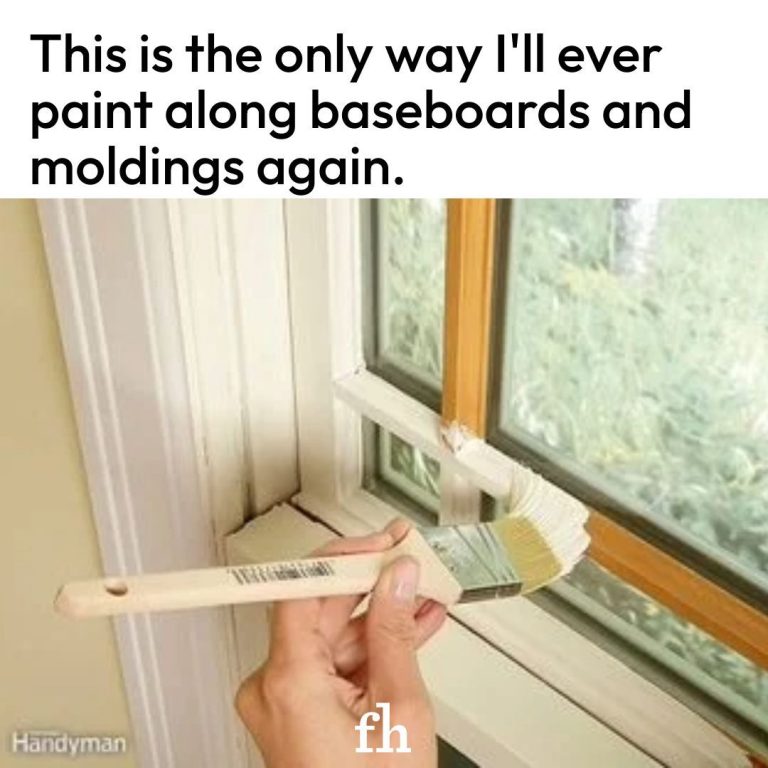
Cut in Quickly With a Steady Hand
Cutting in along trim that’s not protected by masking tape takes a steady hand. And once you get the knack for it, you’ll never want to fuss with taping trim again. Sure, cutting in can be hard for some DIYers, but you can learn to do it effectively and learn how to paint without tape.
Use a tapered paintbrush. The angled bristles uniformly unload the paint as you cut in. Dip the brush into the paint, then tap (don’t wipe) each side against your container to knock off the excess. Brush the paint on the wall, about 1/2 in. from the trim. Then make a second pass, cutting in all the way to the trim. Avoid ‘pushing’ the paint with your bristles or you’ll leave a ridge where you’re cutting in. Apply just enough pressure to let the bristle ends glide next to the trim. To help keep the brush steady, move your entire arm as you paint instead of moving your arm only from the elbow down.
Cut in One Wall at a Time
Once you have your paintbrush in hand, it’s tempting to cut in along all the trim, the ceiling and the corners in the room. But you’ll get better results if you cut in just one wall, then immediately roll out the wall before cutting in the next one. That’s because if you roll out the wall right away, while the cut-in paint is still wet, the cut-in paint and the wall paint will blend much better, reducing the chance of lap marks.
ADVERTISEMENT
