ADVERTISEMENT
Surprisingly, many are unaware of this time-honored sewing secret
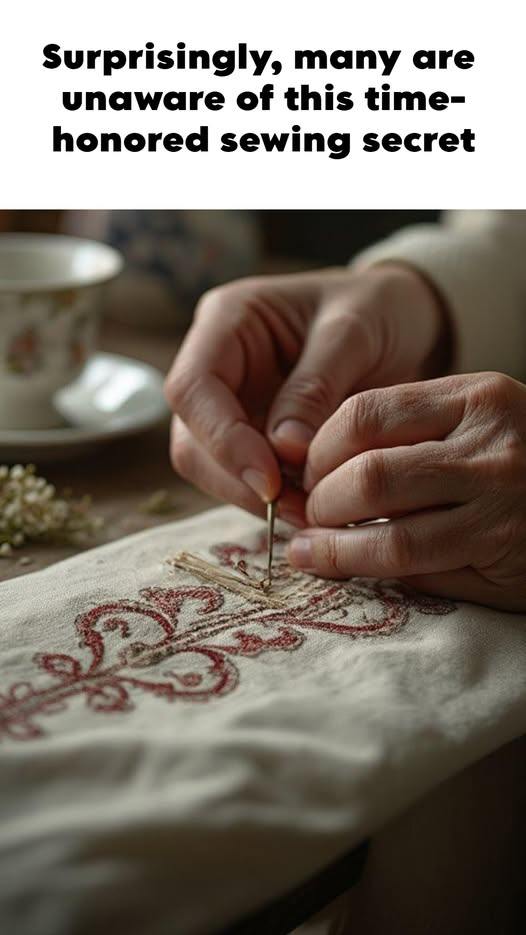
While it might sound intricate, creating tailor’s tacks is quite simple:
1. Preparation: Cut a length of thread, about 18 inches long, and thread your needle. Use contrasting thread color to ensure visibility.
2. Stitching: Pass the needle through the pattern piece and fabric layers, leaving a loop of about one inch on the surface. Repeat this stitch in the same location to create a secure loop.
3. Securing: Clip the thread, leaving another one-inch loop. You should now have two thread tails—one on each side of the fabric.
4. Separation: Carefully pull the fabric layers apart, cutting the connecting thread loop. Each layer should now have its own set of thread markings.
Bringing the Tradition Forward
Integrating tailor’s tacks into your sewing routine can significantly improve the quality and precision of your projects. It’s a small investment of time that pays off in beautifully constructed garments and pieces. Whether you’re a hobbyist or a professional, this time-honored secret can help you achieve more accurate and polished results.
Conclusion
In a world where technology and modern conveniences often overshadow traditional methods, it’s easy to overlook the value of time-honored techniques like tailor’s tacks. However, by embracing this ancient sewing secret, you’ll not only preserve a cherished tradition but also enhance the quality of your sewing projects. So, the next time you find yourself reaching for a fabric pen or chalk, consider the elegance and precision of tailor’s tacks instead.
ADVERTISEMENT
Pages: 1 2
