Do not throw away your grilled LED bulb, an experienced electrician tells you how to fix it
Step 1: Open the ampoule safely
LED bulbs are often covered with a plastic or glass cap. To open it up:
Use a flat screwdriver or clamp to gently remove the lid.
Pay attention to the fixing clips, they can break if you force too much.
Once opened, you access the printed circuit board and the internal components.
Step 2: Locate the components to be repaired
In most cases, the problem comes from the LED driver, a small circuit that supplies the LEDs with electricity. Here’s how to identify a failure:
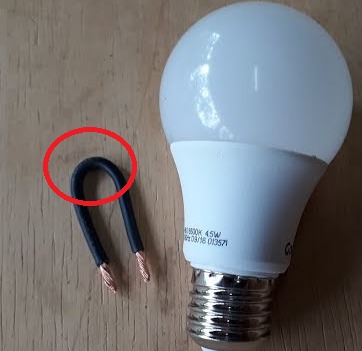
- Welded or broken wire: easy to repair with a soldering iron.
- Inflated capacitor: it needs to be replaced.
- Burned resistance: it must be changed to restore the circuit.
If you have a multimeter, measure the voltage to detect the interruption of the current.
Step 3: Replace defective components
Do a weld if a wire has detached with a soldering iron and tin.
Replace defective components (capacitor, resistor, etc.) by checking their characteristics.
These parts are available on specialised sites or can be retrieved from other devices.
Step 4: Refer and test the ampoule
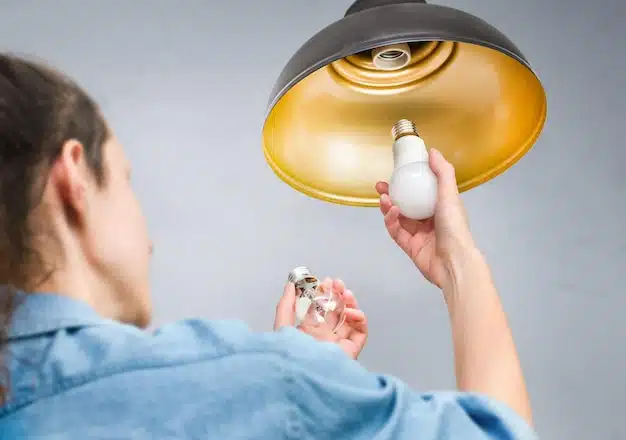
Give back the ampoule by fixing all the elements correctly.
Check that no wire touches a metal part to avoid a short circuit.
Test the ampoule by reconnecting it.
If it lights up, congratulations, you have just extended its life without spending a penny.
Simple and economical reparation
With a little patience and some basic tools, repairing an LED bulb is within everyone’s reach. In addition to saving money, you reduce e-waste.
So, ready to give your LED light bulbs a second life?