Use an ordinary Gillette razor to repair all your remote controls
The razor trick: a surprising method
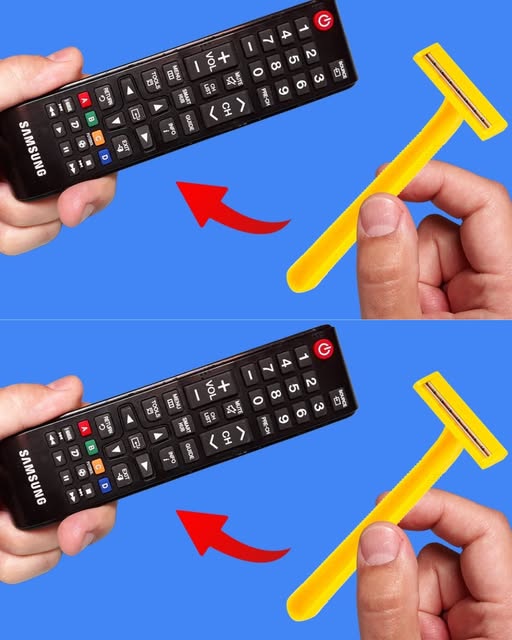
Did you know that a simple razor can breathe new life into your remote? This amazing technique consists in slightly rubbing the rubber contacts of the buttons with a razor blade. The objective? Remove the thin oxidation layer that prevents electrical contact.
How do I do it?
- Open your remote control gently with a small screwdriver.
- Remove the rubber buttons and spot the blackened or worn areas.
- Gently pass a razor blade over these areas to clean them.
- Get back up your remote control and test it.
If it doesn’t work, don’t worry. There is another equally effective method.
Contact cleaning: an infallible solution

Sometimes a simple cleaning may be enough to breathe new life into a recalcitrant remote control. Here’s how to do it:
Equipment required:
- Issopropyl alcohol (or, if any, white vinegar)
- A cotton ball or a soft cloth
- A little screwdriver
Steps:
- Remove batteries to avoid risk of short-circuiting.
- Disassemble the remote control using the screwdriver if necessary.
- Clean contacts with a swab swab with isopropyl alcohol.
- Dry thoroughly before going back.
- Insert new batteries and test whether the remote control is working better.
When should you replace your remote control?
If, despite all these tips, your remote control still is not working, it may be permanently out of service. Before you throw it away, check whether a universal remote control can replace it at a lower cost.
With these simple methods, you avoid unnecessary purchase and extend the life of your remote control. So, before you drop out, try these home repairs.