ADVERTISEMENT
A shoemaker friend revealed to me the secret to repair a broken sole at home
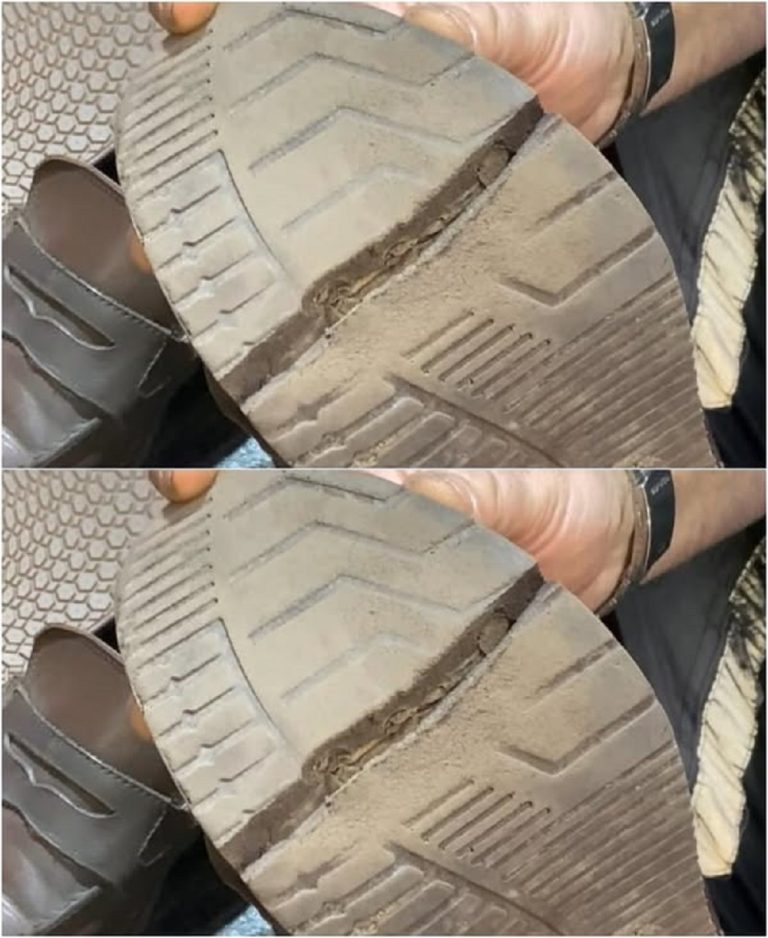
Key steps to re-glue a broken sole
1. Stick the split sole
Apply a thin layer of glue to the damaged area, leaving about 5 mm margin from the top edge. Press the sole firmly so that it adheres well. The glue works quickly, but allow it to dry for at least 30 to 40 minutes before moving on to the next step.
2. Preparing the surface
Once the glue has been thoroughly drying, sand the sole gently with sandpaper. This step is essential to ensure better adhesion of the insole. Do the same with the replacement sole before attaching it.
3. 3. Apply the reinforcing sole
Place a first layer of glue on the sole of the shoe and on the insole. Leave to dry for 40 minutes, then apply a second layer and wait another 20 minutes.
Then heat the glue lightly with a hair dryer until it reaches a temperature of about 50-60 degrees Celsius. This trick makes it possible to optimise the adhesion of the materials.
4. Assembling and finalising the repair
Press the replacement sole firmly on the shoe and allow it to stand for at least 4 hours to ensure a solid binding.
Once the glue has completely dry, cut the excess sole with a cutter and slightly sand the edges for a clean, discreet finish.
Your shoes are ready for several years.
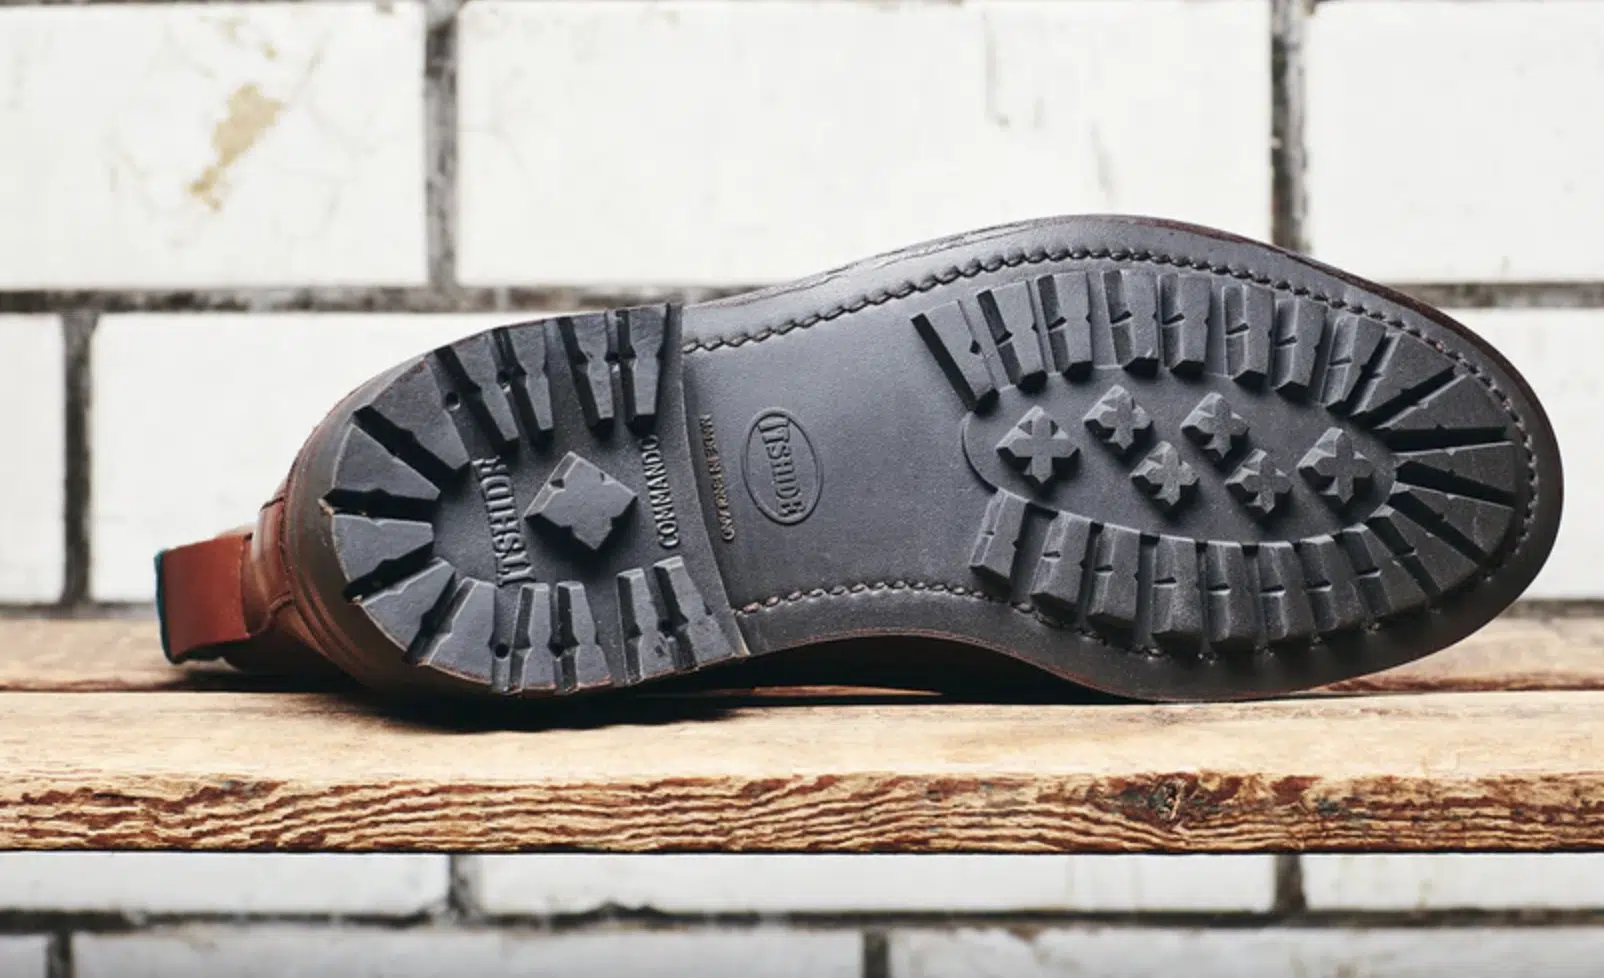
With this simple and accessible method, you extend the life of your shoes while avoiding unnecessary expense. No need to throw away your favorite pairs. This home repair is an economical and environmentally friendly alternative to shoemaking services.
The next time a sole cracks, you'll know what to do. So, ready to breathe new life into your shoes?
