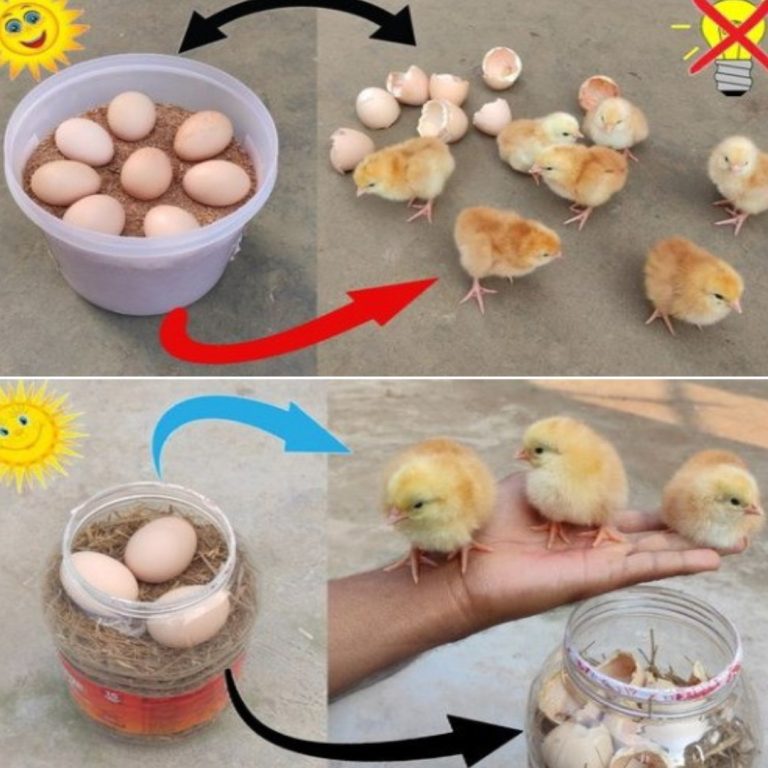
In the world of do-it-yourself projects and sustainable lifestyles, ingenuity often develops when resources are scarce. One such innovative solution is the creation of a domestic incubator from a simple plastic bottle. With a little creativity and minimal investment, you can turn a discarded container into a functional incubation chamber to hatch eggs or promote plant growth. Here’s a step-by-step guide to making your own green incubator at lower cost.
Equipment required:
Plastic bottle (any size is enough, but larger bottles offer more space)
Cutting cutter or cutting knife
Belt (optional)
Water (for moisture, if applicable)
Thermometer (to monitor temperature)
Step 1: Prepare the cylinder
Start by cleaning and drying the plastic bottle thoroughly. Remove labels or stickers to obtain a smooth surface for cutting and DIY. Choose a bottle size suitable for the purpose you want to use, taking into account factors such as the size of the eggs or plants you want to incubate.
Read more on the next page >>