Apply the Injection Cream:
Insert the damp-proof injection cream into each drilled hole using a specialized applicator or caulking gun. This forms a horizontal barrier to block moisture.
Seal and Protect:
Allow the cream to set for 24-48 hours.
Re-plaster and repaint the wall using breathable materials to finish the repair.
Waterproof the Wall:
Apply masonry water repellent to the exterior of the wall to prevent future moisture penetration.
Serving and Storage Tips
Serving Your Home: Regularly inspect the repaired walls to ensure they remain dry and free from further damage.
Storage of Materials: Keep leftover damp-proof cream and sealants in cool, dry places for future touch-ups.
Variations
Chemical-Free Alternative: For a more eco-friendly solution, consider using lime plaster or other natural materials to improve wall breathability.
Exterior Drainage Fixes: Pair this method with better exterior drainage systems like French drains to enhance protection.
FAQ
1. How long does this method last?
With proper application and maintenance, this DIY solution can last for decades, making it a highly effective long-term fix.
2. Can I use this method on any type of wall?
Yes, but it’s most effective on masonry or brick walls. For wooden walls, consult a specialist.
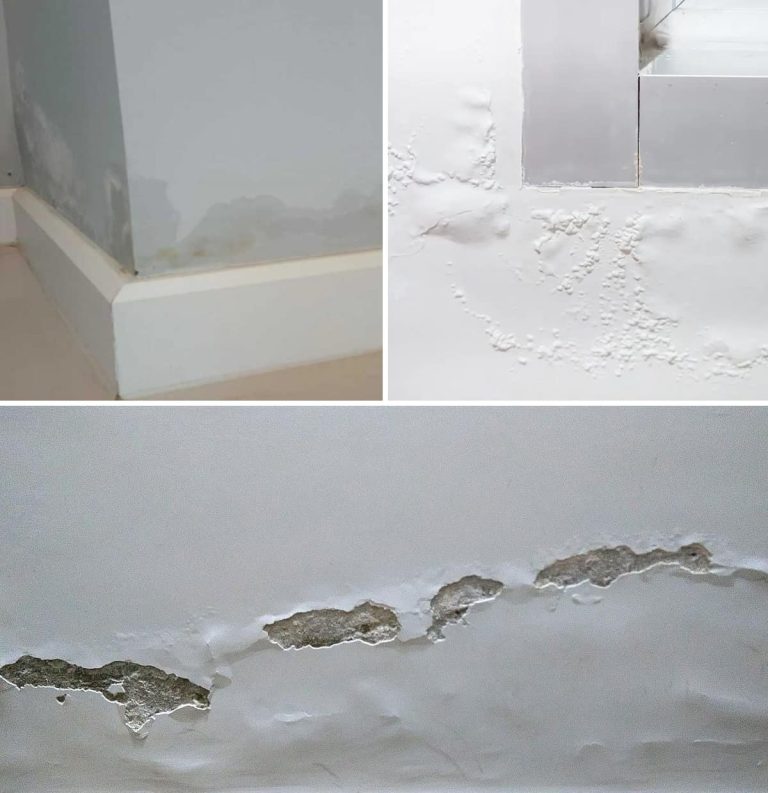
3. What causes rising damp in the first place?
Rising damp occurs when groundwater seeps through porous materials due to a lack of a damp-proof barrier. Addressing this issue prevents recurring problems.
Say goodbye to rising damp and hello to strong, dry walls with this simple, economical DIY solution. With just a bit of effort, you can ensure your home stays safe, sound, and moisture-free for years to come!