Step 2: Promote rooting naturally
Before you dip your strand into the water, you can soak the base in a natural rooting product. No need for chemicals: a pinch of powdered cinnamon is sufficient. Antibacterial, it also stimulates root growth, kind of like an old grandmother thing in the garden.
Step 3: Soak in a glass of water
Place your stem in a glass of clean water, ensuring that the cut part is properly submerged without touching the bottom. Place the glass in a bright place but away from the direct sun. Change the water every two to three days to avoid mould.
Step 4: Wait and observe
After two to three weeks, you will see fine white roots appear. At this point, your strand is ready to live his new life in a pot. If you don’t see anything after a month, don’t worry: some varieties take a little more time, like a good wine that needs to age.
Step 5: Plant and enjoy
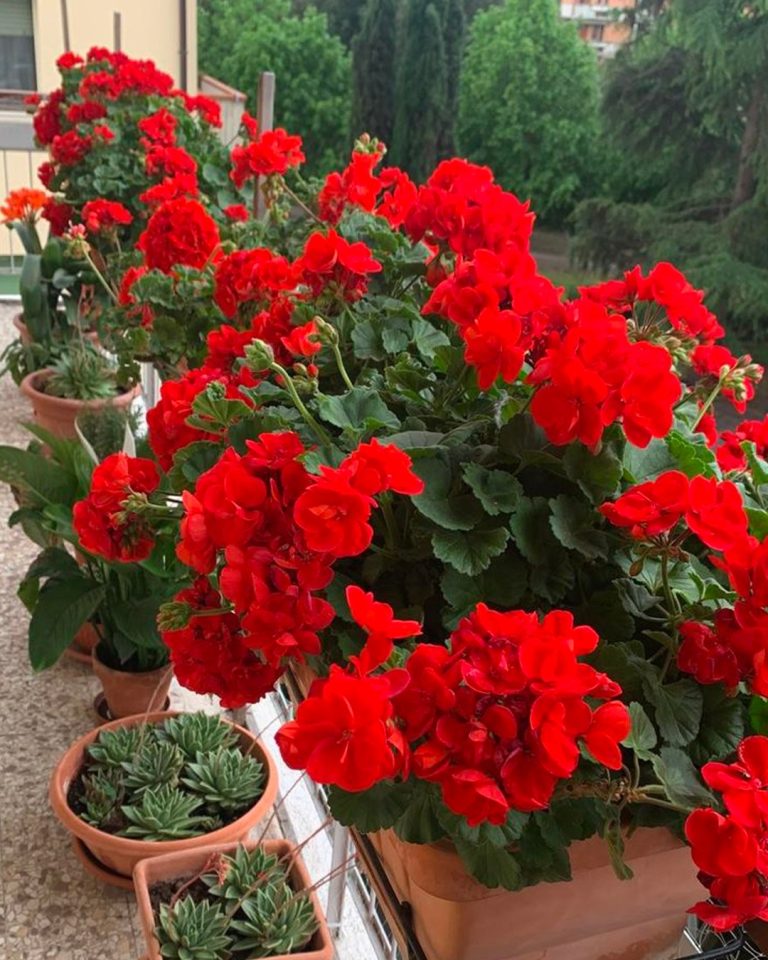
Prepare a pot with a well-drained pot, gently plant your cutting, and then water. Install the pot in a bright corner, ideally near a sunny window or on a south-facing balcony. Geraniums love light.
Maintain young geraniums for generous flowering
Once your strand is firmly rooted, the interview becomes simple:
- Moderate watering: the soil should remain slightly moist, but avoid stagnant water.
- Regular size: Cut the faded leaves or stems to stimulate growth.
- Sweet fertilizer: every two weeks, add a little fertilizer for flowering plants to give them a boost.
A trick to share for a bright garden
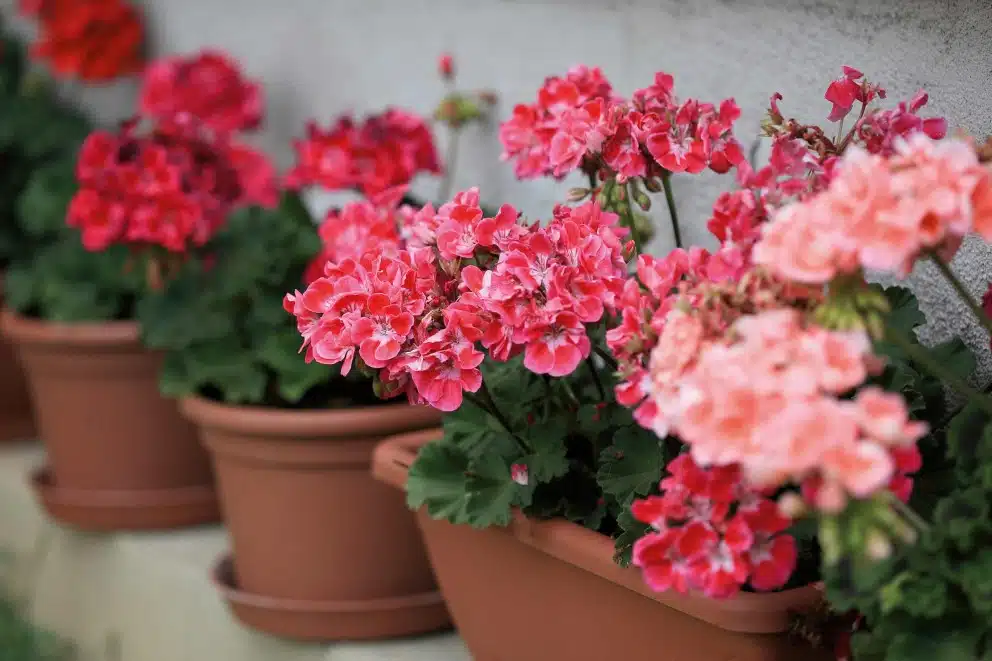
This simple method transforms a single geranium into a veritable flowery colony. Imagine your windows, balconies and beds explode colors, simply with a well-chosen cutting. It’s a bit like lifting a baguette from a homemade leaven: a simple gesture, for a bluffing result.
So what are you waiting for? Test this technique this spring, and give your loved ones a small pot of homemade geranium. A flowery, economical and good-wave-loaded gift.