ADVERTISEMENT
Unlocking the Secret to Year-Round Orchid Blooms
Orchids, with their exquisite beauty and captivating array of colors, are highly prized by plant enthusiasts. However, maintaining these stunning plants and encouraging continuous blooming requires a dedicated approach to care and nutrition. This comprehensive guide unveils a simple yet highly effective organic fertilizer recipe, empowering you to cultivate healthy, vibrant orchids that consistently produce magnificent blossoms throughout the year.
The Magical DIY Orchid Fertilizer: A Recipe for Success
This remarkable fertilizer harnesses the power of everyday ingredients to provide your orchids with the essential nutrients they need to thrive. The recipe is surprisingly straightforward and uses readily available items:
Ingredients:
3 liters of water
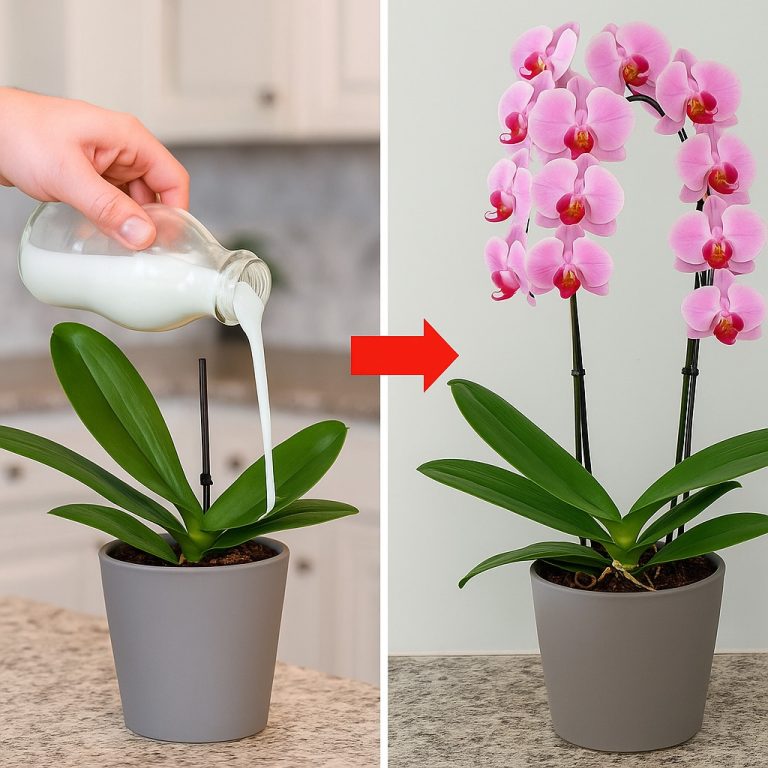
15ml of expired or leftover milk
5ml of fresh lemon juice
Milk provides a wealth of essential nutrients, including calcium, magnesium, nitrogen, phosphorus, and potassium, all crucial for robust orchid growth. The lemon juice, meanwhile, plays a vital role in balancing the pH of the solution, preventing the growth of harmful bacteria and fungi that can damage your precious plants. The combination creates a gentle yet potent organic fertilizer.
Mixing and Applying Your Orchid Elixir: Three Effective Methods
Once you’ve gathered your ingredients, the mixing process is incredibly easy. Simply combine the water, milk, and lemon juice in a suitable container and mix thoroughly. This creates a nutrient-rich solution ready for application. We’ll explore three methods to ensure your orchids receive optimal benefits:
Method 1: Leaf Care and Cleaning
Maintaining clean and healthy orchid leaves is often overlooked, but it’s crucial for photosynthesis and overall plant health. This method allows for direct nutrient absorption through the leaves while also eliminating dust, dirt, and pests.
Dip a soft cloth or cotton pad into the prepared solution.
Gently wipe both the upper and lower surfaces of each leaf, ensuring complete coverage.
Repeat this process once a month to maintain clean, healthy leaves and prevent fungal infections.
Method 2: Full Orchid Spraying
This method provides comprehensive coverage, ensuring all parts of the orchid receive the beneficial nutrients. It is particularly effective in preventing fungal diseases and pest infestations.
Pour the solution into a spray bottle.
Thoroughly spray the entire orchid, paying attention to both sides of the leaves and leaf crevices.
Lightly spray the roots as well.
Apply this treatment once a month to maintain overall health and prevent problems without over-saturating the plant.
Method 3: Root Immersion and Direct Watering
For an intensive nutrient boost, consider this method which maximizes nutrient uptake directly through the roots.
Slowly pour the solution over the orchid’s roots.
Alternatively, submerge the entire pot (ensure the pot is well-draining) in the solution for a few minutes.
Allow excess solution to drain away completely.
Apply this method once a month to avoid nutrient overload.
Reap the Rewards: Benefits of Your Homemade Fertilizer
Consistent application of this organic fertilizer will yield remarkable results:
Enhanced Root Development: Noticeable new root growth within a month, leading to more efficient nutrient absorption.
Stronger Plant Structure: Sturdier stems and leaves, increasing resilience against diseases and pests.
Extended Blooming Period: Multiple blossoms with thick, long-lasting petals.
Continuous Flowering: With consistent monthly applications, you can enjoy continuous blooms for up to six months.
Conclusion: Embrace the Magic of Natural Orchid Care
With a little care and attention, and this simple, cost-effective organic fertilizer, you can transform your orchids into stunning floral masterpieces. Start today and watch your orchids flourish, bringing vibrant beauty to your home or garden year-round!
ADVERTISEMENT
