ADVERTISEMENT
Why didn’t I know before? How to Fix Broken Inner Tube in 2 Minutes
Materials Needed
- Damaged inner chamber
- Gasoline (small quantity)
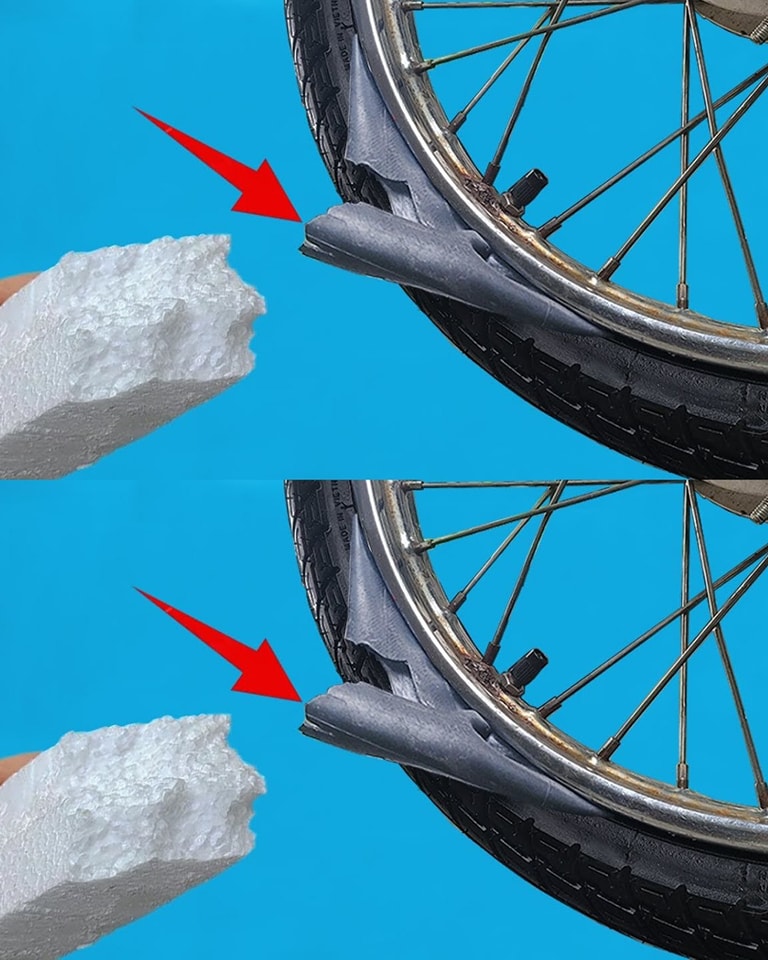
- Telgopor (sufficient quantity)
- Reused bicycle valve
- Rubber patch
- Heat source (such as a motorcycle exhaust pipe)
- Self-adhesive glue
Steps for Repair
- Identify the Damage: Start by locating the damaged area of the inner chamber. If it’s a pinprick, mark the area so you can repair it effectively.
- Prepare the Area: Clean the affected area. If necessary, use a little gasoline to disinfect and prepare the rubber.
- Use the trick (in the video) as broken camera glue: Apply the glue to the damaged area. This acts as a preliminary sealant.
- Reuse a Bicycle Valve: Place the valve inside a piece of rubber tubing. Make sure it’s securely sealed and secure.
- Warm Up Repair: Place the patch on a warm surface, such as a motorcycle exhaust pipe. The heat will help the melted rubber integrate into the crack in the chamber.
- Apply Self-Adhesive Glue: Insert self-adhesive glue inside the camera to quickly seal the perforations.
- Installing the Inner Tube on the Tire: Once the repair is complete and the glue has hardened, install the repaired tube on the tire and check for leaks.
Additional Tips for a Lasting Repair
- Using Contact Cement: To ensure better patch adhesion, apply contact cement instead of just adhesive foam.
- Check the Inside of the Tire: Before attaching the repaired tube, check the inside of the tire to make sure there are no objects that could damage the tube again.
- Check Air Pressure: Be sure to inflate the chamber to the recommended pressure to avoid potential repair failures.
- Use of Moderate Heat: Do not use excessive heat when heating the patch, as this could damage the camera. Use only the heat needed to melt the rubber slightly.
ADVERTISEMENT
Pages: 1 2
