ADVERTISEMENT
19 Rainwater Collecting Ideas That Are Functional, Beautiful, and Easy to Build
Step-by-step Guide:
Step 1: Build a simple frame using 4 wooden posts and cross beams to support the roof. Raise one side slightly for water flow. Secure a corrugated panel roof on top.
Step 2: Place the main rain barrel on a sturdy pallet or platform beneath the roof’s edge. Install a downspout or gutter to direct runoff into the top of this barrel.
Step 3: Drill an overflow hole near the top of the first barrel and connect a hose that leads to the second barrel. Use a clamp to hold it in place.
Step 4: Add a spigot to the lower section of each barrel for easy water access, then seal around all fittings to prevent leaks.
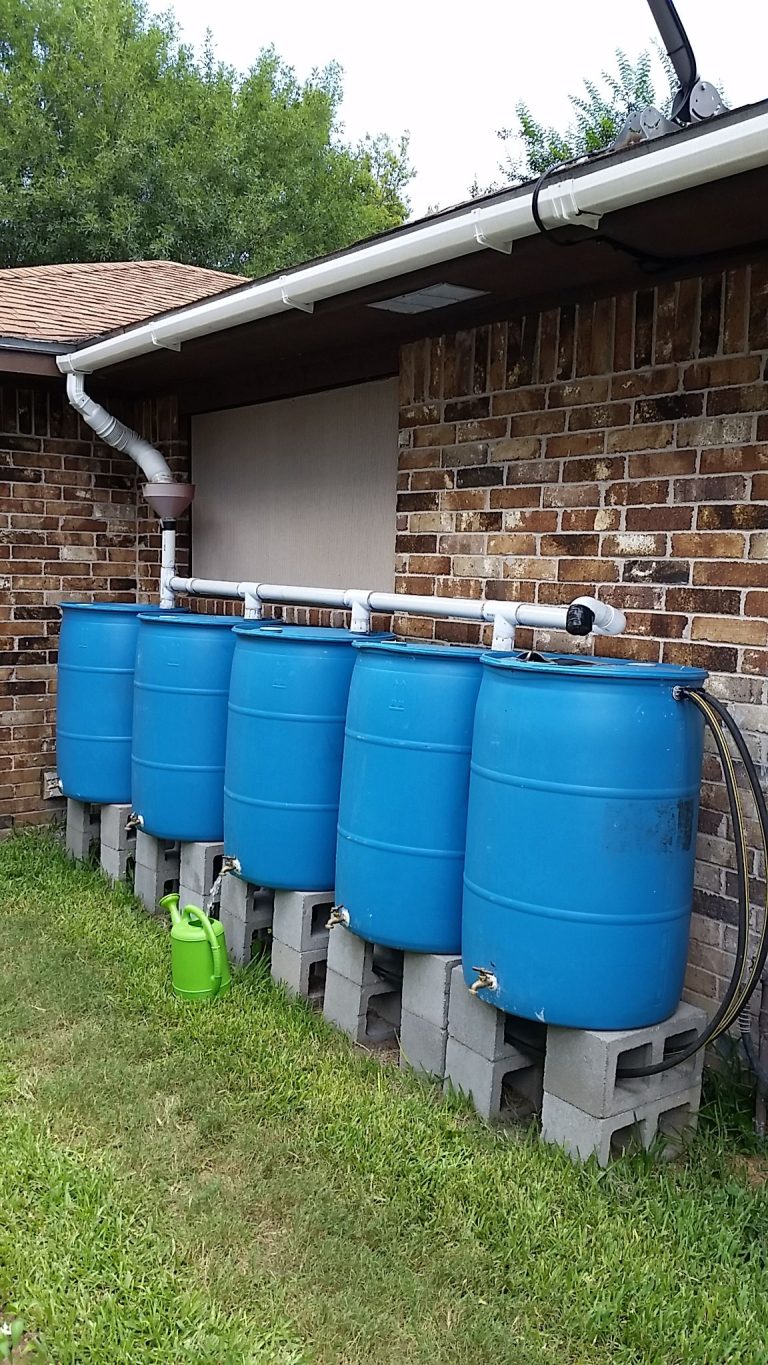
#2. Raised Rain Barrel Collector

Sometimes the simplest ideas are the most efficient. This raised rain barrel setup uses a sturdy wooden stand to lift the barrel for better gravity-fed water pressure.
Materials Needed:
- 1 blue 55-gallon plastic barrel
- 4 pressure-treated wooden posts (4″x4″, 3–4 ft)
- 2–3 wooden support planks (2″x4″)
- Spigot kit
- Screws or lag bolts
- Drill, saw, wrench
- Downspout diverter or flexible pipe
Step-by-step Guide:
Step 1: Build a square stand with the four wooden posts as legs and 2×4 planks for bracing across the middle and bottom. Make sure it’s level and sturdy.
Step 2: Place the barrel vertically onto the stand. Mark and drill a hole near the bottom for the spigot, then install and seal it tightly.
Step 3: Connect the gutter or downspout into the top of the barrel using a diverter or flexible pipe. Ensure it directs water cleanly into the barrel.
Step 4: Optionally, drill a small overflow hole near the top and connect a hose to redirect excess water away from your foundation.
#3. Greenhouse Bench Rain Barrel Catcher

This upcycled rain barrel bench is more than just a place to sit, it’s a smart, sustainable way to collect water while making the most of your greenhouse setup.
continued on next page
