ADVERTISEMENT
19 Rainwater Collecting Ideas That Are Functional, Beautiful, and Easy to Build
Step-by-step Guide:
Step 1: Set two tall posts into the ground for the high end of the roof, and two shorter posts for the lower end. Secure beams between them to hold the roofing panel.
Step 2: Attach the corrugated roofing, angling it downward toward where the barrel will be placed. Ensure the slope is steep enough for water flow.
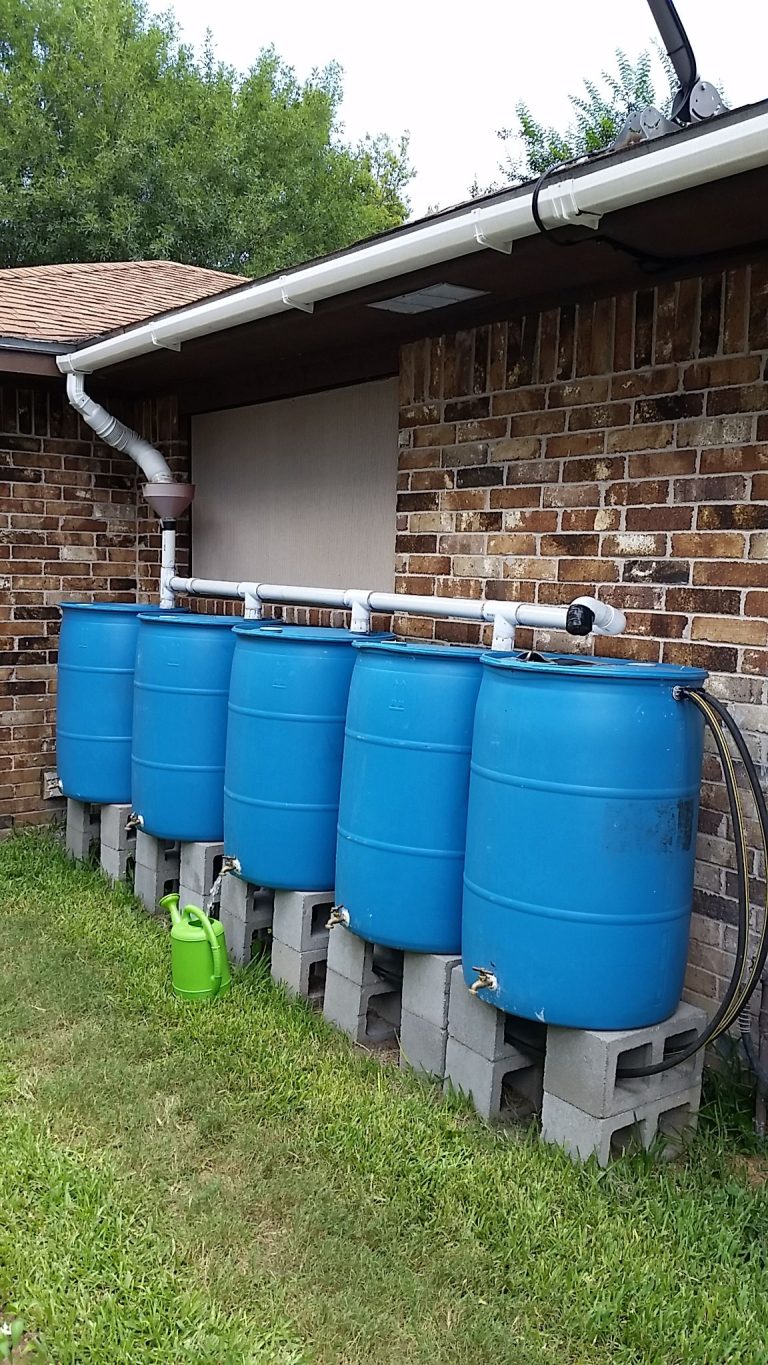
Step 3: Position the barrel on cinder blocks at the base of the roof to raise it off the ground and improve pressure.
Step 4: Cut a hole in the barrel lid or remove it entirely to allow rain to collect. Optionally, add mesh or a filter to keep debris out.
#15. Zen Rain Chain Basin Catcher
This serene rain-catching idea blends form and function with pure artistry. A copper rain chain funnels water gently into a wide, patterned basin below, framed by river stones and lush greenery.
Materials Needed:
- 1 copper rain chain (length depends on gutter height)
- 1 large decorative basin (15–20 gallons)
- Hook
- Gravel or small stones (optional)
- Downspout adapter
Step-by-step Guide:
Step 1: Choose a spot beneath an existing downspout. Remove the downspout section and install a hook or rain chain adapter in its place.
Step 2: Hang the rain chain so it’s centered over the basin. Adjust its length to reach just above the bottom of the bowl.
Step 3: Position the basin on level ground, adding gravel underneath if needed. You can also surround it with decorative stones for extra charm.
Step 4 (Optional): For cleaner water, place a mesh screen over the basin to catch leaves or debris before they enter.
#16. Gutter-to-Trough Rainwater Reservoir
Nestled under the eaves, the tub fills quickly with every storm, and its elevated placement allows for easy hose access.
Materials Needed:
- 1 galvanized steel livestock trough (100–150 gallons)
- 2 flexible downspout extenders
- Concrete blocks or bricks (for raising)
- Hose bib/spigot with sealant
- Hose (optional)
- Drill
Step-by-step Guide:
Step 1: Place the trough on a raised platform made of concrete blocks or bricks. This provides gravity pressure and prevents ground contact.
Step 2: Attach a spigot near the bottom using a watertight seal or washer. Connect a hose if desired for garden use.
Step 3: Install downspout extenders on both sides of the roof, aiming the ends directly into the trough. Adjust for even water flow.
#17. Artistic Downspout Rain Sculpture
As rainwater flows down the abstract, vine-like form, it spirals and glides into a waiting planter below.
Materials Needed:
- Sculptural rain spout (handcrafted copper or weatherproof metal)
- Mounting brackets
- Waterproof sealant
- Planter
- Optional: stones or mesh screen
Step-by-step Guide:
Step 1: Remove the standard downspout from your gutter and install a secure mounting bracket to hold the sculptural rain diverter.
Step 2: Attach the sculptural piece, ensuring it’s angled to follow the natural path of water and flows into your chosen planter or basin.
Step 3: Position the planter or collection container below the final point of flow. Add stones or mesh if you want to filter leaves and debris.
#18. Sheltered IBC Rain Tank System
Designed for durability and efficiency, this system combines a large IBC tote with a sloped metal roof to create a high-capacity rainwater collector.
continued on next page
