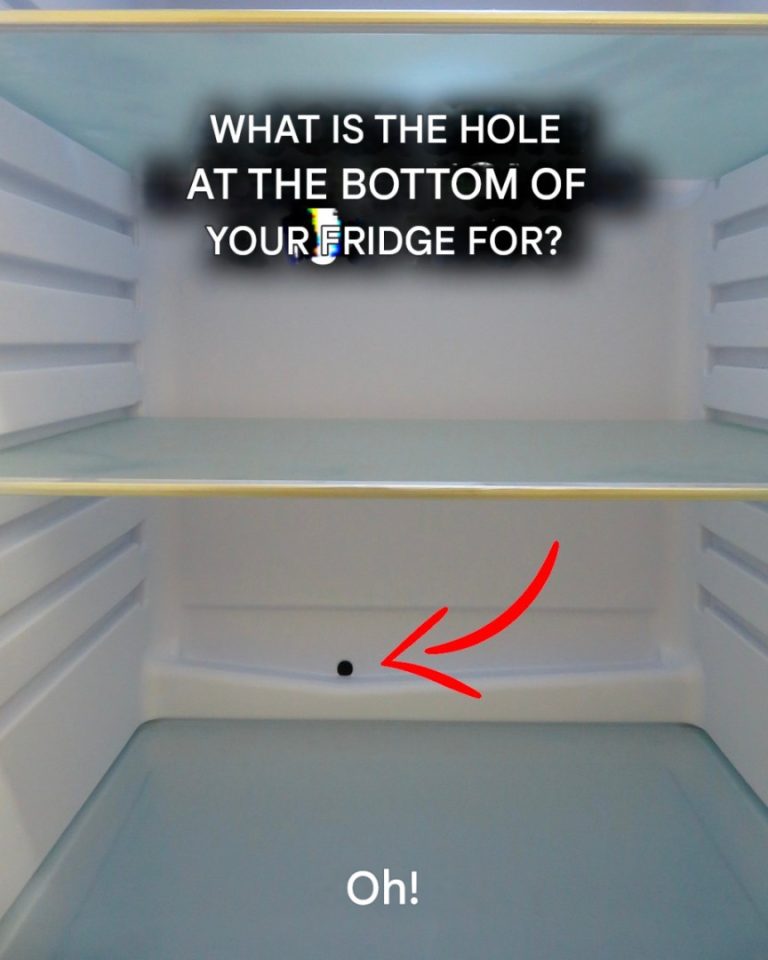
🧽 Step 2: Locate the Drain Hole
Usually found:
At the back of the fridge, just above the bottom shelf
In the middle or slightly off-center
You’ll see a small depression or plastic grill — that’s your drain.
🧽 Step 3: Clean Out Debris
Use a cotton swab, soft brush, or pipe cleaner to gently dislodge gunk from the hole. Be careful not to force anything too far in.
🧽 Step 4: Flush It
Use warm water in a syringe, dropper, or turkey baster to flush out the hole. This helps clear the tube and any hidden blockages.
➡️ Pro Tip: Mix in a teaspoon of baking soda with the warm water to neutralize odors and fight bacteria.
🧽 Step 5: Wipe the Area Dry
Use a towel or sponge to clean around the drain and soak up any pooled water.
💡 Bonus Maintenance Tips
Clean the drain every 3–6 months or whenever you deep-clean your fridge.
Avoid spills by keeping food in sealed containers.
If water keeps pooling after cleaning, check the drain tray under the fridge — it may need emptying or cleaning.
Some fridges come with a special cleaning tool — check your manual!
🧊 Final Thoughts
That tiny hole at the bottom of your fridge might not look like much, but it plays a big role in keeping your appliance running cleanly and efficiently. A quick 5-minute clean can save you from unpleasant smells, leaks, and costly repairs.
So next time you’re wiping down shelves, don’t forget the hidden hero of your fridge — and give it the TLC it deserves.
Need a printable cleaning checklist or want help identifying features on your specific fridge model? I’ve got you covered — just ask!