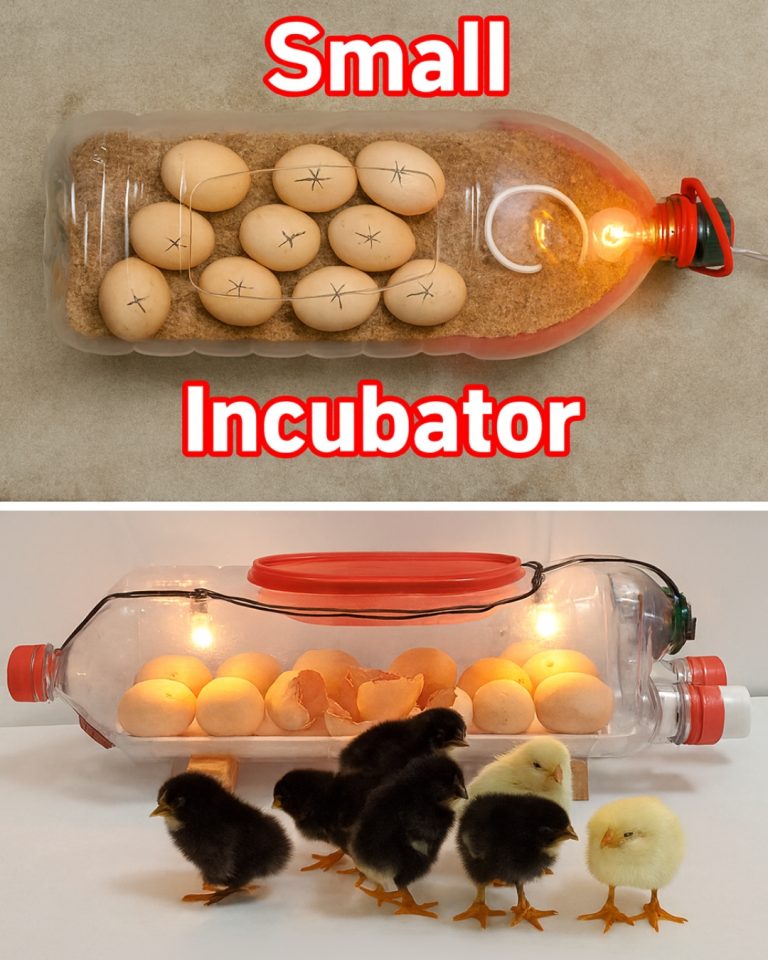
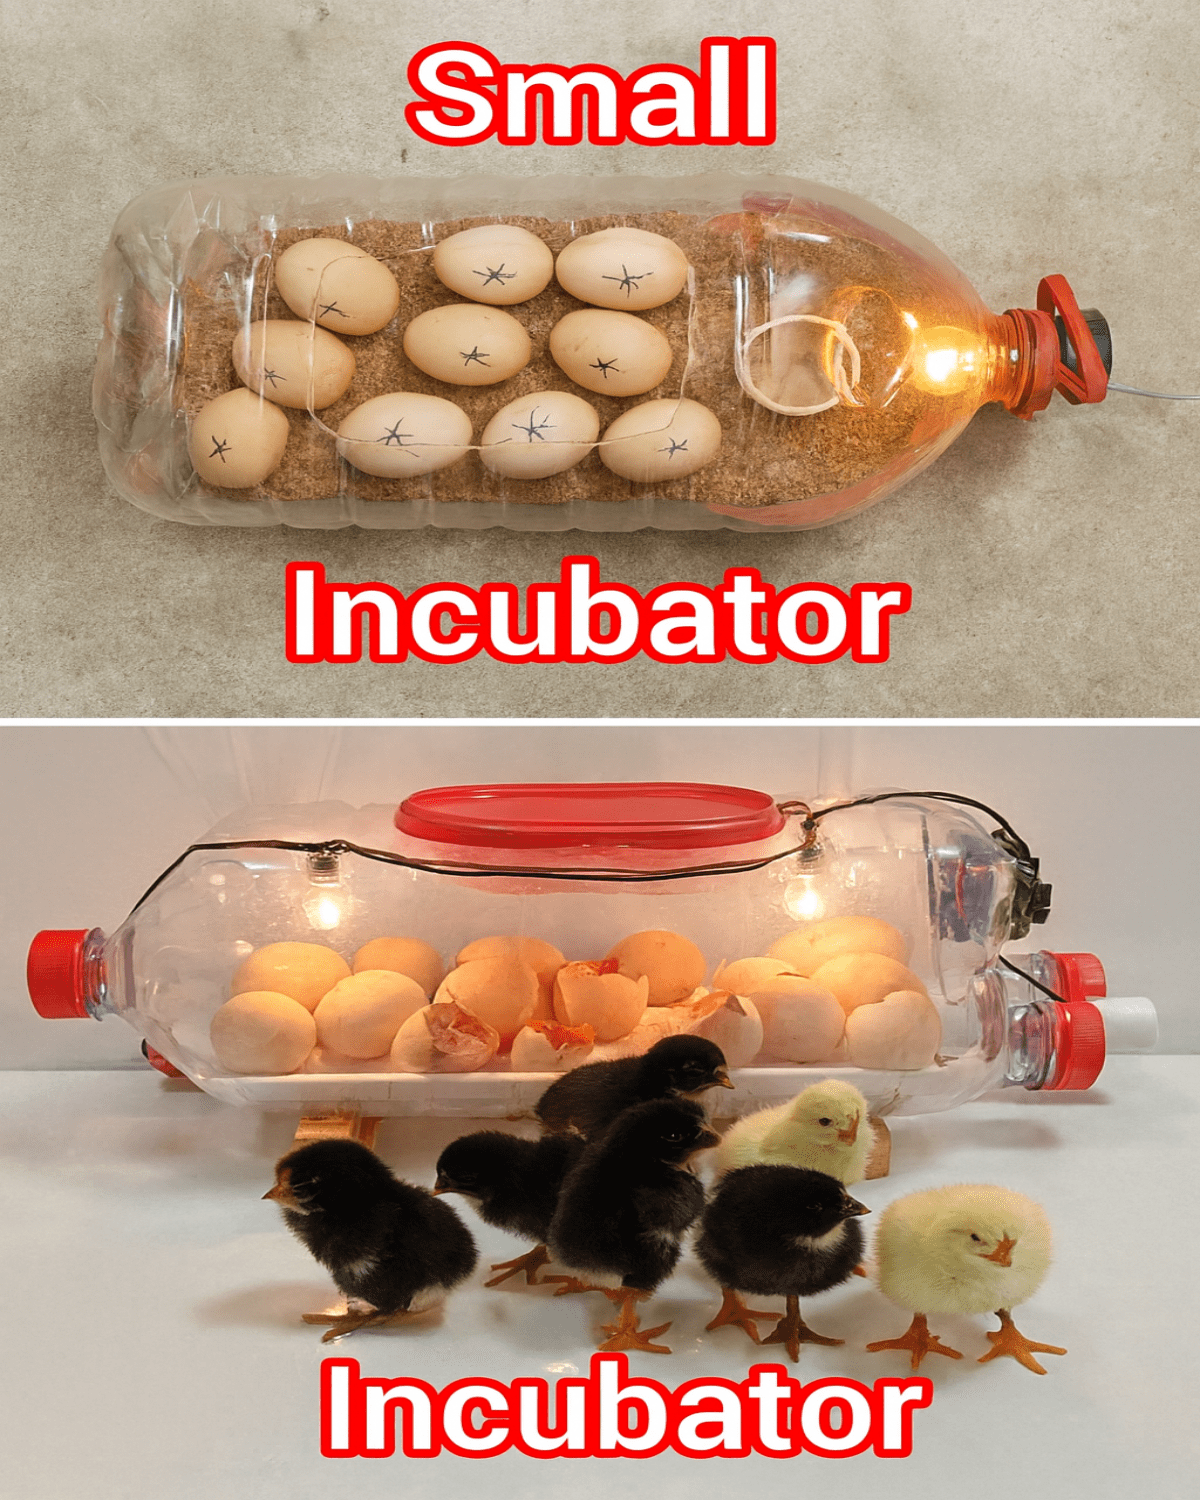
Could a water bottle hatch your backyard eggs? This simple, homemade incubator might turn your kitchen into a hatching hub. For seniors looking to explore a fun, low-cost hobby, this DIY project could spark joy and a new skill.
Hatching eggs at home can be tricky without the right tools. Expensive incubators, inconsistent temperatures, or lack of know-how can lead to failed hatches, wasting time and money. Many seniors, especially those on fixed incomes or living rurally, face challenges in starting small poultry projects. Without a reliable setup, you might miss out on the rewards of raising chicks, like fresh eggs or the satisfaction of a sustainable hobby.
We’re counting down six steps to build a water bottle egg incubator, building to the most critical tip for successful hatching. We’ll share two surprising insights to keep you curious, and the final step will reveal a game-changer for your setup. Stay with us to learn how to hatch eggs on a budget.
The problem is urgent. Store-bought incubators can cost hundreds of dollars, out of reach for many seniors looking to start a backyard flock. Improper temperature or humidity can ruin eggs, leading to disappointment or financial loss. Research shows that consistent conditions—around 99.5°F and 50–60% humidity—are crucial for hatching, yet many DIY attempts fail due to lack of clear guidance. Seniors with limited mobility or access to supplies risk frustration without an affordable, simple solution, making a budget-friendly incubator a game-changer.