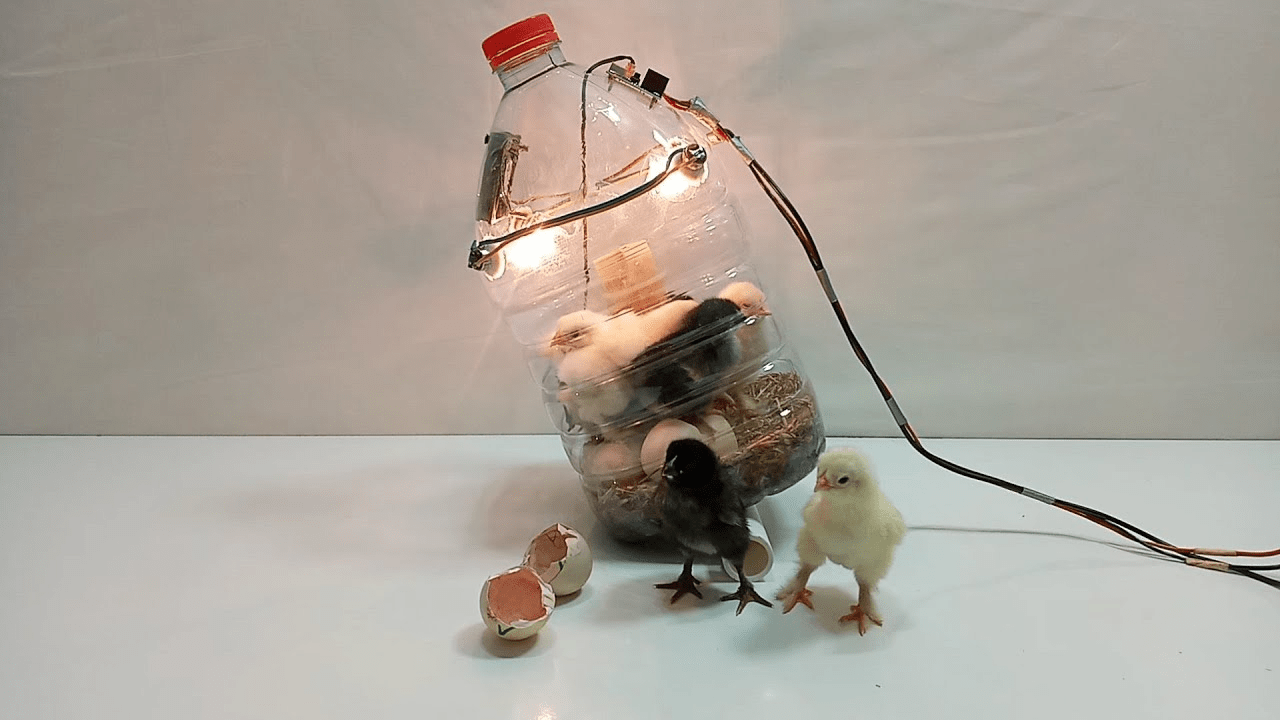
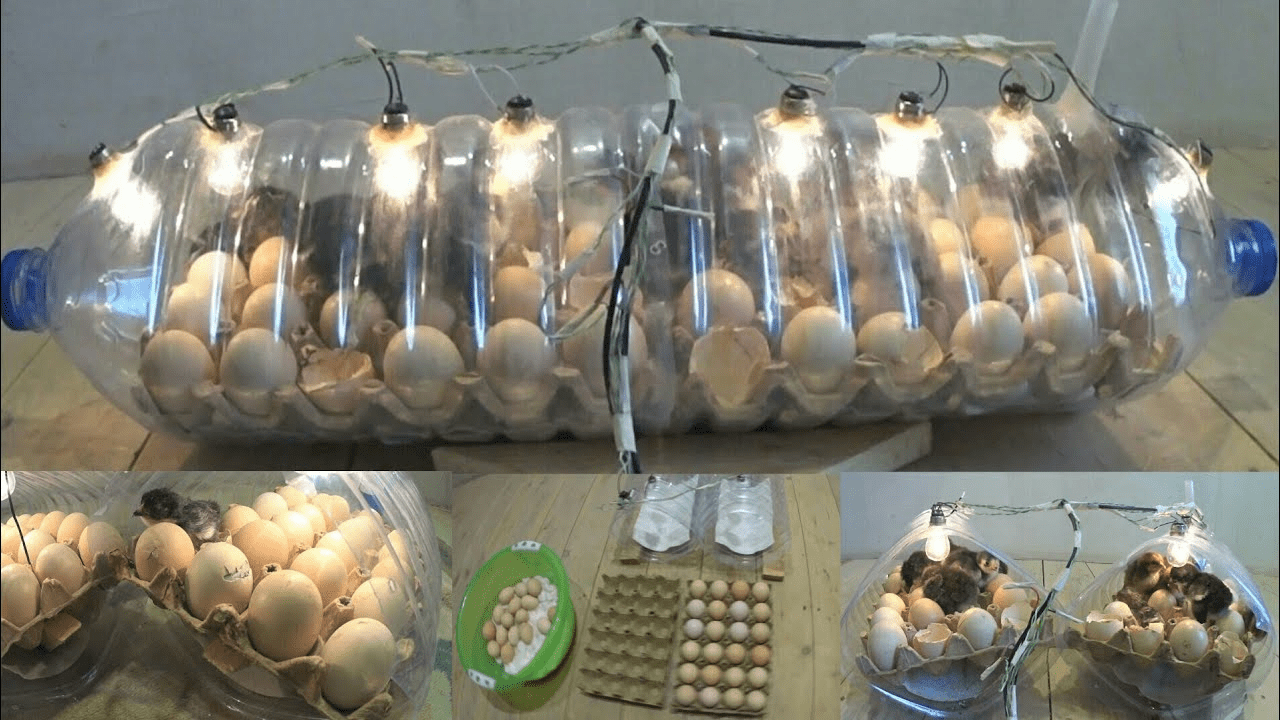
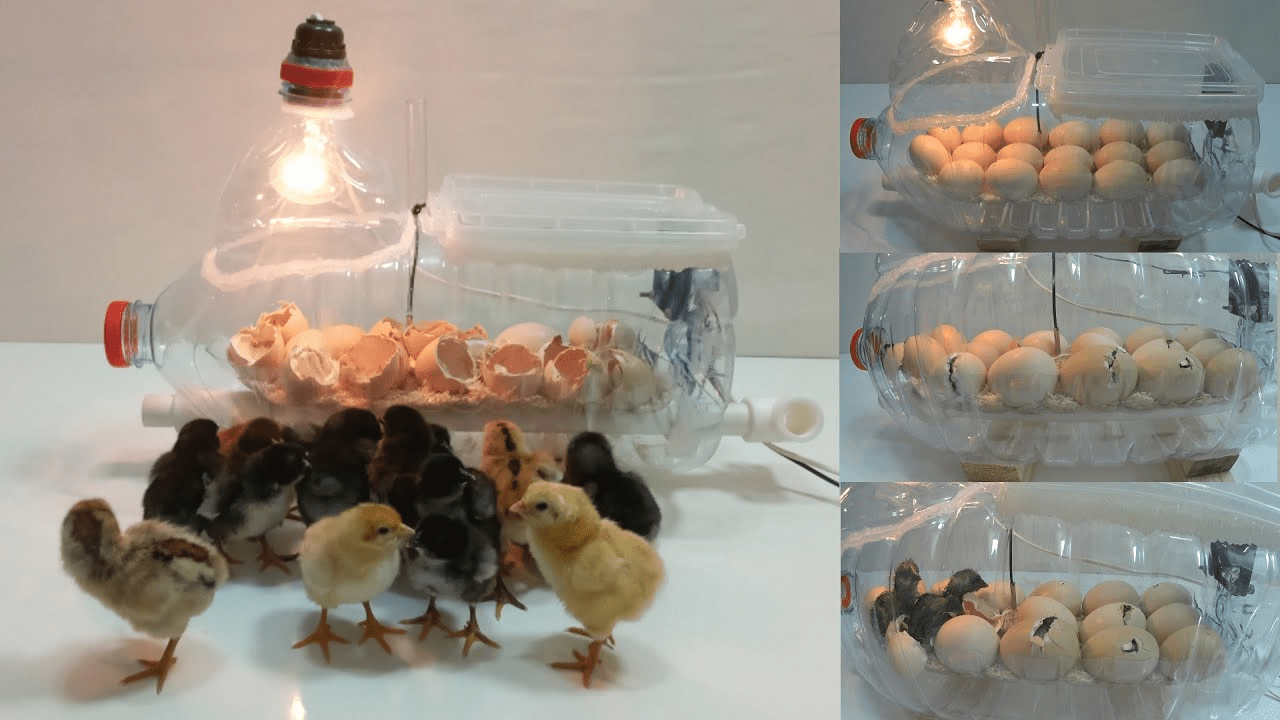
How to Turn a Simple Water Bottle into an Egg Incubator
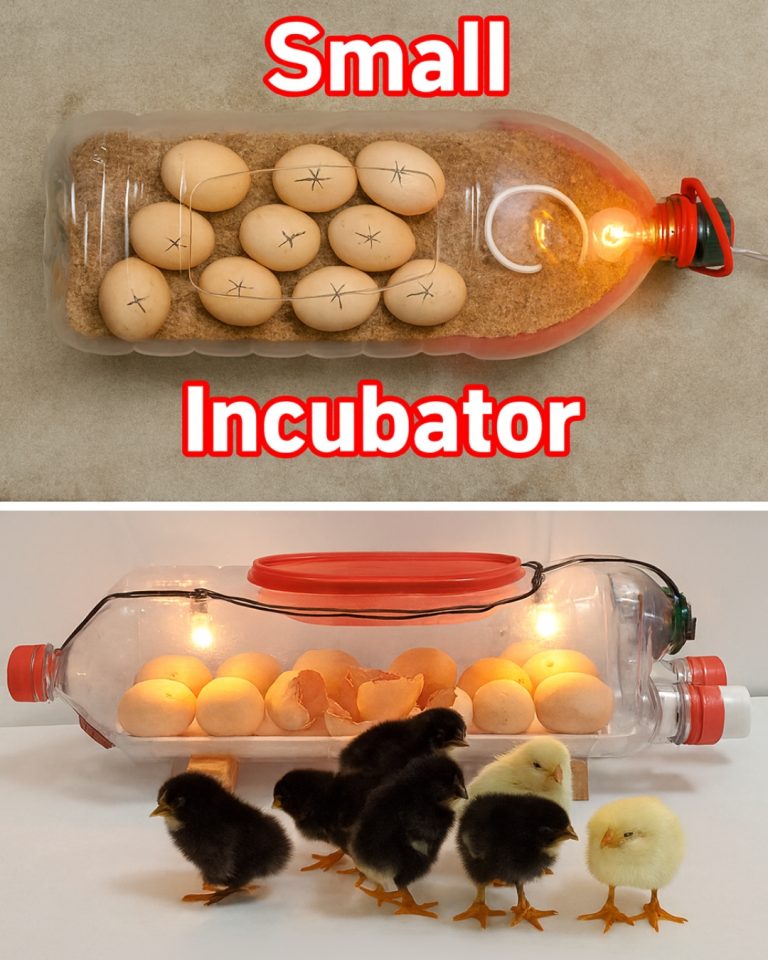
Here’s step six: gather basic materials. You’ll need a 2-liter plastic water bottle, a small light bulb, and a few household items to start. These keep costs low, as research suggests simple setups can work if done right. Step five: create a stable heat source. A 25-watt bulb inside the bottle might maintain the needed temperature. Here’s a surprise: could a common kitchen item boost your success? By step four, you’ll see how it stabilizes your setup.
Step four: add a water tray for humidity. That surprise—a small sponge or cloth in a shallow dish inside the incubator can help maintain 50–60% humidity, crucial for egg development. Step three: ensure proper ventilation. Cutting small holes in the bottle allows air circulation, preventing mold or overheating. Research indicates ventilation is key to embryo health during incubation.
Step two: monitor temperature closely. Using a thermometer to check the 99.5°F mark might prevent egg damage. Here’s another surprise: could a simple tweak make turning eggs easier? By step one, you’ll discover a trick to simplify the process.
Now, the final step—step one: turn eggs daily. This is the most critical because gently rotating eggs three times daily mimics a hen’s movement, ensuring embryos don’t stick to the shell. Studies show regular turning boosts hatch rates by up to 80%, making it the key to success.
Here’s how to build it safely: start with a clean 2-liter plastic water bottle, cut in half to create a base and lid. Place a 25-watt bulb in a small socket (like a lamp base) inside the bottom half, securing it with tape. Add a small dish with a damp sponge for humidity, and cut four ¼-inch holes in the top half for ventilation. Place a thermometer inside to monitor 99.5°F, adjusting the bulb’s distance if needed. Set fertile eggs (from a trusted source) on a soft cloth, and cover with the top half. Turn eggs three times daily, and keep the setup in a draft-free room. Always consult a healthcare professional if handling eggs or poultry, as raw eggs can carry bacteria like Salmonella, risky for those with weakened immunity or allergies.
To make it practical, use a digital thermometer for accuracy, and check it twice daily. Keep the incubator away from windows or vents to avoid temperature swings. Mark eggs with a pencil to track turning, rotating them 180 degrees each time. Sterilize the bottle and materials before starting to prevent contamination. Monitor for 21 days (chicken egg hatching time), and stop if you notice foul odors or cracked eggs, as these may indicate failure. If you experience skin irritation or respiratory issues from handling eggs, stop and seek medical advice.
These six steps offer a practical approach, but success isn’t guaranteed. Research shows consistent temperature, humidity, and turning are critical for hatching, with simple setups like this achieving up to 60% success rates in ideal conditions. Be cautious—improper handling can spread bacteria, and electrical setups risk fire if not monitored. Start with a few eggs, check conditions daily, and stop if issues arise. Hatching outcomes vary based on egg quality and setup precision.
Take Margaret, a 67-year-old retiree who wanted fresh eggs but couldn’t afford a fancy incubator. She built a water bottle incubator after researching local poultry guides, using eggs from a neighbor’s hen. Over 21 days, she hatched three chicks, boosting her joy and confidence in her new hobby. Her story shows how a simple project, done carefully, might make a difference.
see more on the next page